When you go through the process of buying your first home you have this grand vision of what you want to change to make it "your home". Well, we just surpassed our one year anniversary and it seems like we can never check anything off the list.
We bought an 84 year old home that was semi-flipped. What does semi-flipped mean? Semi-flipped means that they focused on the areas that would make them money including the kitchen and bathroom, refinishing the floors, new windows and roof, halfheartedly neglecting to focus on detail (FYI - this lack of detail, or sheer laziness, cost us to have to call a plumber because they washed tile grout down the bathtub and it hardened in the pipes). When buying a home, do your research and keep your eyes peeled during inspection. No matter what is found, you will always find more once you move into the home and start "using" everything.
Ok, off my soap box! So, we decided to make a list of all of the projects we wanted to do with our home partially to keep track of everything we wanted to do and honestly, isn't it a great feeling to check items off your list?
Here is our list, with accompanying pictures. We hopefully will be able to update periodically, you know, with all the free time we have.
(Disclaimer: Please disregard the mess! We have a 2 year old little monster. You sympathize, right?)
Front Yard/Porch
- Sand, repair and paint the wood trim
- Remove the bush and replant something more appealing
- Paint the trim around the front door
- Repaint the floor of the porch
- Seal any cracks in the walkway
- Replace exterior light near driveway
Entrance
- Strip molding, sand and paint
- Fix cracks and uneven walls, patch and paint
- Paint the trim around the front door
- Replace the exterior light fixture
- Build a bench for the seat with cubbies for baskets
- Paint the bathroom door
- Remove the pocket door and replace with a double sliding barn door
- Change light fixture
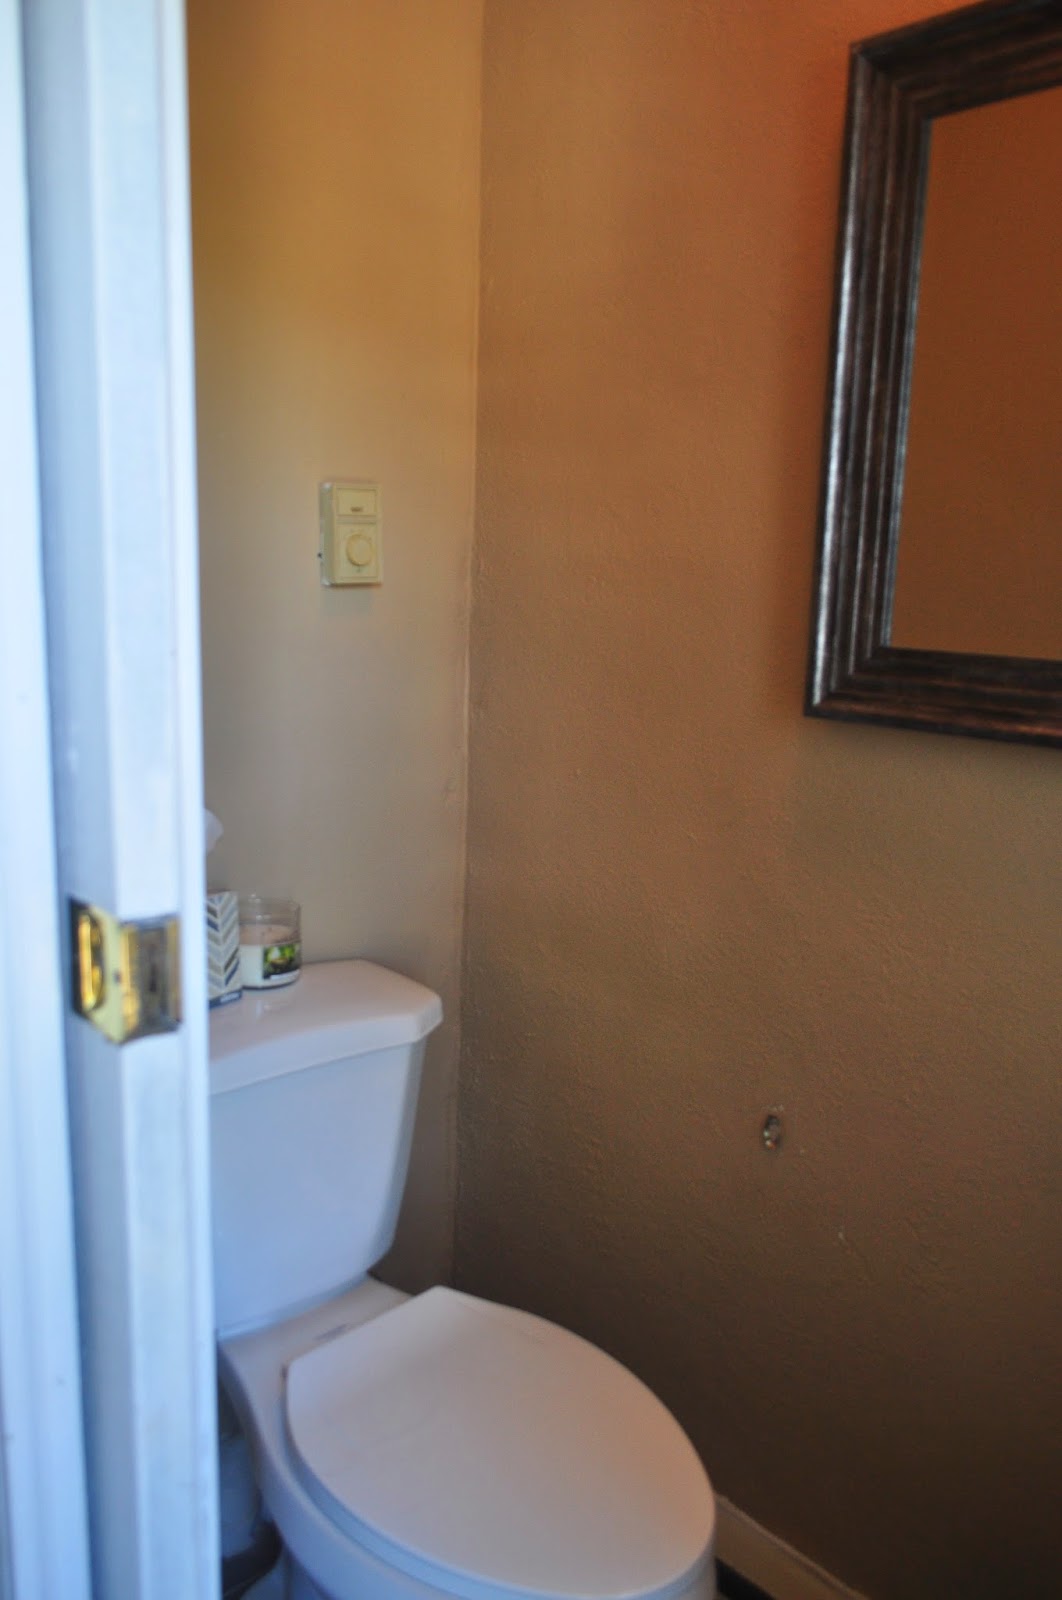
Half Bathroom
- Patch and skim coat walls
- Strip, sand and paint molding
- Paint the vanity
- Fix faucet
- Install shelving above the toilet
- Replace towel holder
- Hang artwork/decor
Living Room
- Hang artwork, pictures behind the couch
- Build remaining radiator cover near Avery's play area
- Build and install built-in's flanking the fireplace
- Repaint the ceiling
- Cover the archways with natural wood detail
- Hang curtains
- Get a larger circular coffee table
- Build long, thin table for behind the couch
- Install crown molding

Dining Room
- Finish painting the wainscoting
- Update the light fixture
- Find and refinish an old sideboard
- Install crown molding
- Hang artwork/decor
- Hang window curtains
Kitchen
- Paint cabinets
- Paint the walls and trim
- Hang artwork/decor
- Replace backsplash
- Build a radiator cover
- Replace the basement door
- Add window coverings
Stairs to Second Floor / Upstairs Hallway
- Remove carpet
- Repair, sand, stain and seal stairs
- Strip baseboards
- Paint the walls and baseboards
- Add carpet runner
- Refinish the handrail and affix with new hardware
- Hang artwork/decor
- Remove ceiling fan and patch
- Replace light fixture
- Close the hall closet opening and open/rebuild from the guest bedroom
- Refinish the banister
- Sand down all of the doors and repaint
- Change the office door to open from the other side
- Remove the pocket door to the guest bedroom and replace
- Hang artwork/decor over stairs and in hallway
- Change hardware on all doors
Master Bedroom
- Strip baseboards and paint
- Patch and paint room
- Hang curtains
- Build radiator cover
- Find vanity and refinish
- Refinish long dresser
- Maximize space in closet
- Replace the attic door and casing
- New bed frame
- Rug
- Hang pictures and artwork
- Refinish Ikea dresser
Avery's Bedroom
- Remove bookcase
- Add thick wood shelving on that wall
- Add crafts table
- Hang curtains
- Add artwork/decor to walls
- Add some paint color to the walls
- Maximize storage in closet
- Change light fixture
- Get him big boy sheets
Office
- Paint
- Install organization system on back wall for crafts
- Fix closet and maximize storage
- Add window treatments
- Install new light fixture
Guest Room
- Paint
- Move bed frame from Master (get mattress)
- Install new light fixture
- Replace carpet with hardwood floors
- Paint radiator cover
- Hang window coverings
- Hang artwork/decor
- Open up wall closet/close off hallway closet
Backyard
- Install gate
- Build two garden beds
- Remove concrete walkway
- Lay down patio
- French drain in the back