Tuesday, May 10, 2016

How to Make a Proper Miter Cut

When I first began working with wood I wanted to know everything (I still do).  Every technique, every aspect.  It all fascinates me.  However, when you want to grab hold of the big picture all at once, it can become overwhelming and easy to overlook the basics.

One of the first tools I purchased when we moved into our home was a Dewalt 12" Miter Saw.  I practiced on a ton of wood making sure that my cuts improved.  A lot of beginners will make an easy and often mistake of where they place the blade in regards to their marker.  This can throw off everything.  Even a 1/16 of an inch can be a mistake that costs money.

The first step to making a perfect miter cut may seem like a "duh" type of thing, however, you'd be surprised how many people don't sharpen the tip of their pencil (insert teenage giggle).  It can throw the cut off so make sure that you sharpen before making any markers.


When marking, make sure you are accurate with where you draw your line.  It should be directly above the line on the ruler.


When you place the piece of wood on the miter, you want to make sure that your blade lines up "outside" your marker.  In other words, if your dimension is 33, place the blade on the side of the marker that is greater than 33.


If you look closely at the blade, you will see smaller teeth upon the larger teeth.  This will add 1/16 of an inch to your cut.  Many beginners (and I did this too) will line the blade up directly with the marker making the cut short.


Making sure your blade is sharp is ridiculously important.  A dull blade will still cut through the wood however it can damage the wood and you will not get a clean cut.

Before you make your cut, make sure you allow your blade time to get up to full speed.  As you cut through the wood, go through slowly.  This will ensure a clean cut.


If you look closely, you can see the pencil marker that I used as the guide.


Tuesday, May 3, 2016

Patching Wood....A Simple Tutorial

One of the aspects of what we do that I really enjoy besides building custom pieces, is breathing life into something someone might be putting by the curb or have just sitting in the basement or attic taking up space.  To me, furniture restoration is not just about sanding and re-painting or staining.  I am a textbook over thinker when it comes to thinking outside the box.  My mind goes in 20 different directions when I first see a piece.  Just endless possibilities.  However, drastically changing a piece's makeup will come with some need for repair.

We often run into a scenario during the restoration process where the integrity of the wood but be repaired.  Of course with time, wood will gain character however some "character" is more wear and tear.  Wood that has chipped or splintered, small holes that might have been caused by one thing or another...I could go on and on.


The first thing we want to do is check for nails that might be sticking out of the holes.  If so, bang the protruded portion of the nail back into the hole.   


When you have a piece of wood that has been chipped or splintered and would like to repair it, you will need to make sure that there is no debris on the work surface and the area effected is flat.  For this, I run a chisel over the area a few times removing any splinters of wood that might still be stuck on.  Don't worry about scratching the wood surface.  We'll be sanding before all is said and done.


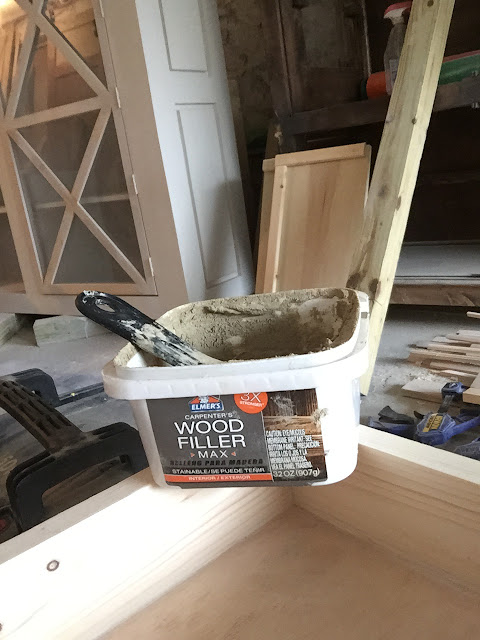
Next on the agenda is to apply the wood filler.  I like using Elmers.  It's strong, mixes well with water and is a strong filler.  Another good filler is Dap.  A little wetter consistency than Elmer's but dries in a very similar way.  Both sand well and are stainable and paintable.  Take a putty knife and apply the wood filler to the area being repaired.  Make sure you don't put too much on but enough as to when you spread the filler, the effected area is covered.  Place aside and allow to dry.  Normal suggested drying time is about an hour, however I find it dries a lot faster.  you'll know it's dry as it will have a stucco like consistency.


Once dry, we take a piece of 220 Grit Sandpaper and sand down the putty to a flat surface.  Run your fingers over the sanded surface.  When you achieve the desired consistency, you are ready roll.


After you wipe off any dust and debris, and clean the surface, you are ready to paint or stain!