Showing posts with label table. Show all posts

Wednesday, December 16, 2015

French Provencial Table Rennovation


My close friend had recently bought a new home and we had been talking about all of the furniture she needed to buy since they were upgrading from a two bedroom apartment in the city to a four bedroom house in the suburbs. 

Luckily, our local Boys and Girls Club was having a rummage sale and had a lot of great furniture that I would have loved to refinish. These are the moments where I really wish we had a pick up truck. They were selling a beautiful french provincial table that I thought would be perfect for her kitchen table. So, I brought it home without consulting her and hoping that she would trust my judgement. 


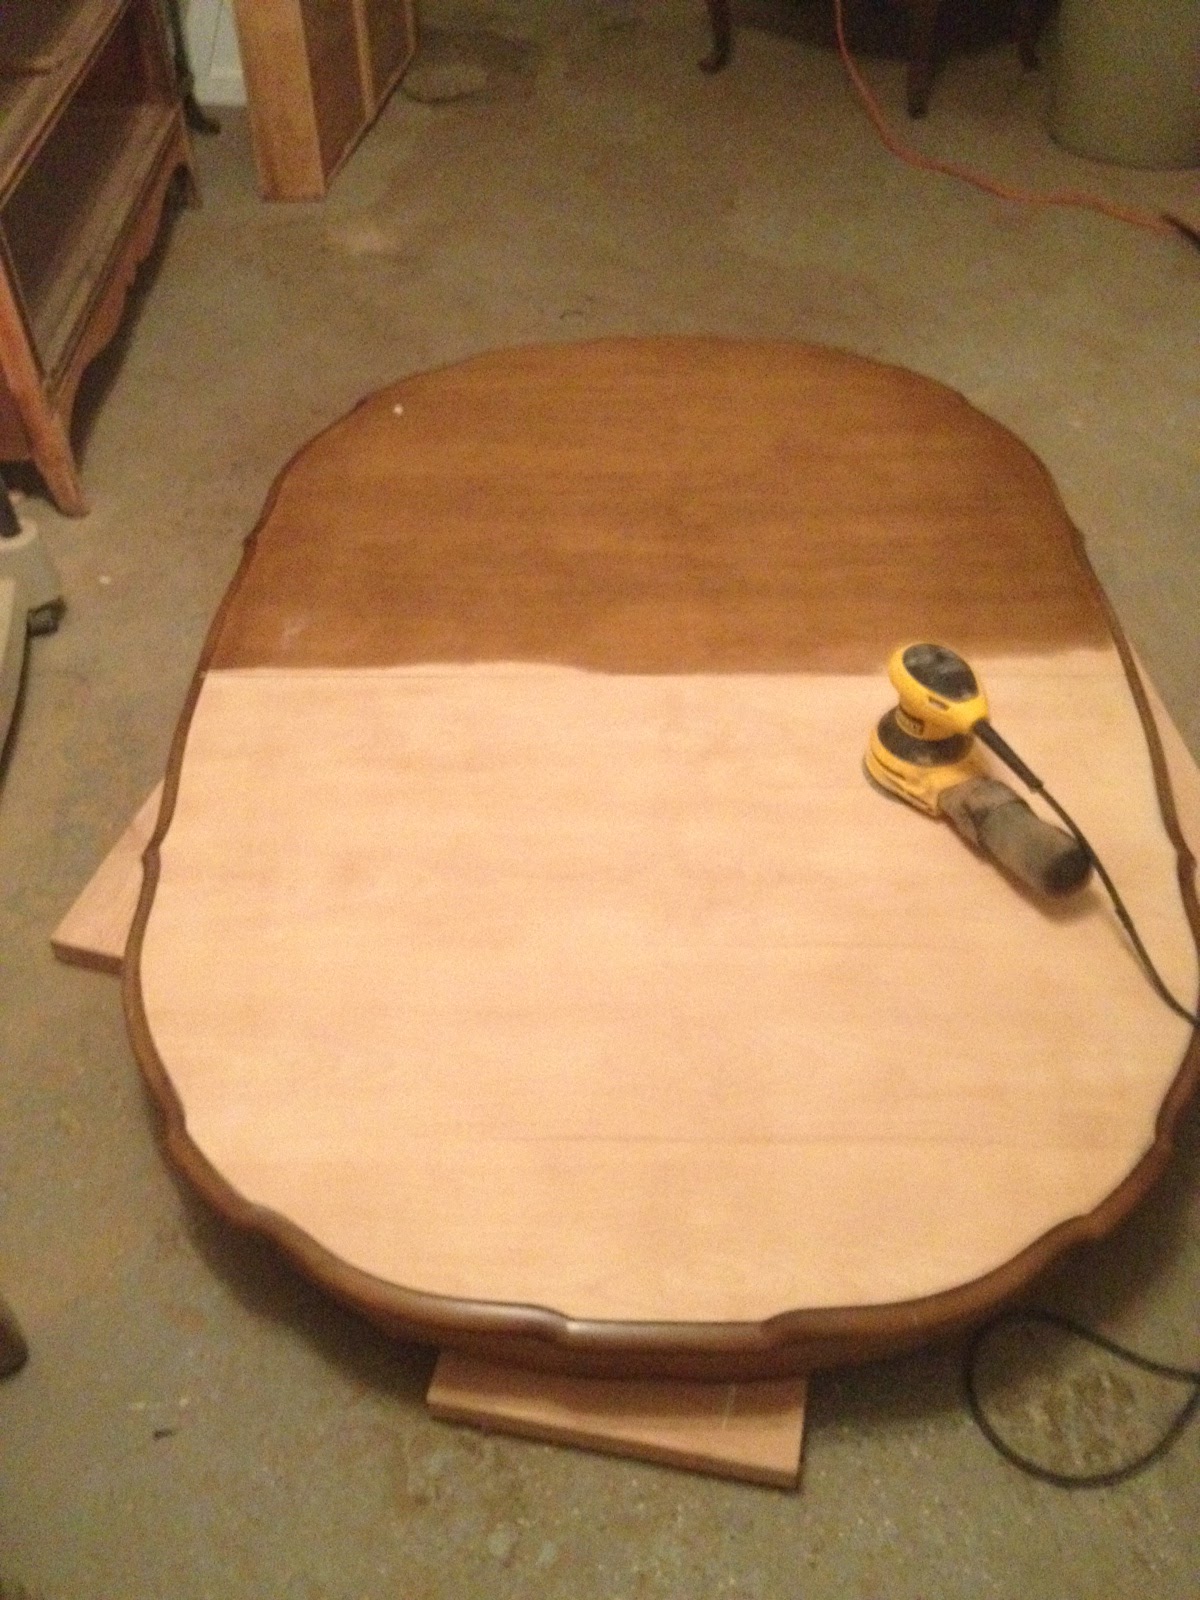
Since I decided to use Annie Sloan chalk paint, it took me two nights to paint the legs - one coat per night. Before I moved onto painting the table skirt I sanded the top of the table. This was quite a labor of love, let me tell you! There was a thick and stubborn coat of poly protecting this ugly stain and beautiful wood, that just didn't want to come off. 


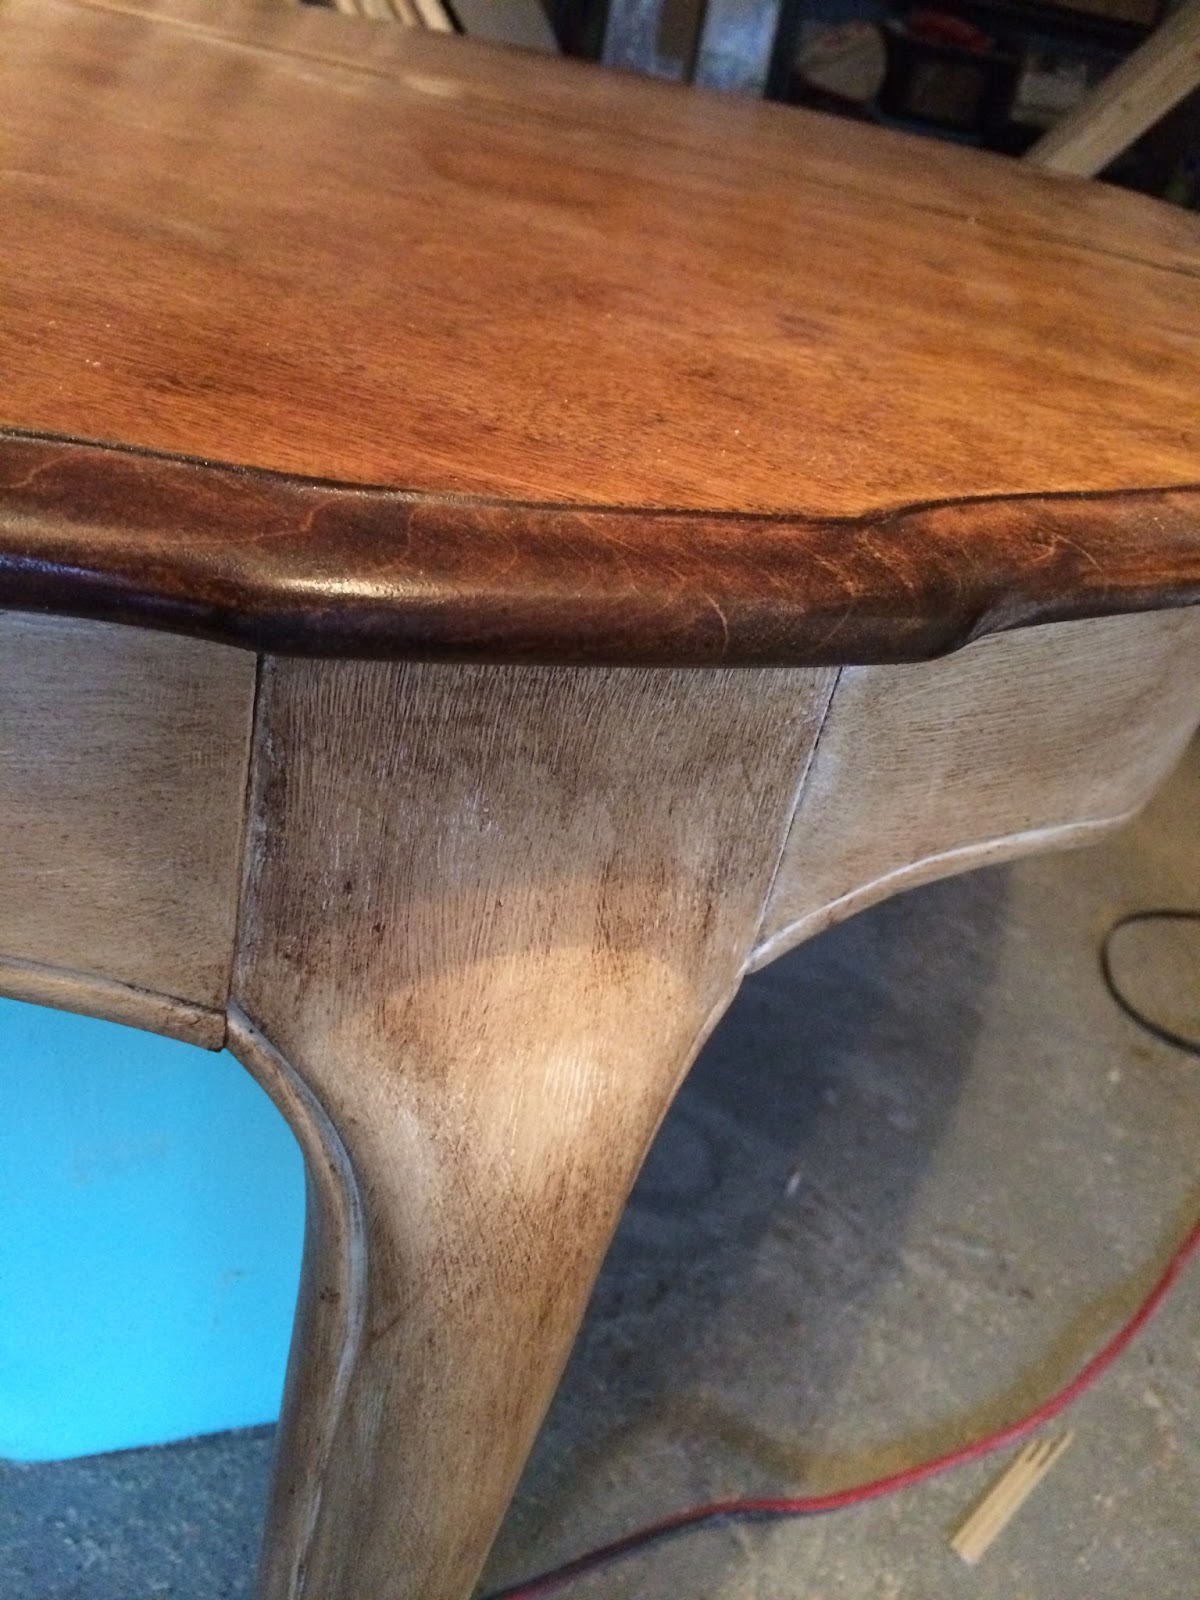
Once the top was completely sanded I moved onto the table skirt, which again, took another two days and another two coats. You can see from the picture below the difference one extra coat of paint makes. 


The top required a lot of sanding to remove the varnish and stain but the wood underneath was beautiful. We applied a wood conditioner before using Minwax Provincial stain. Make sure to have a tack cloth to clean away all of the fine dust and a staining pad to apply the conditioner and stain evenly. The last step in the process was to polyurethane the top to create a hard shell for protection and to antique the bottom (we used Annie Sloan Soft Dark Wax). Below are the progression pictures. It was a tedious and lengthy process but the end result was well worth it! 


Original finish


Conditioned
Finished Table Top


Thursday, November 6, 2014

5 Steps To Make Your Own Dried Oregano

This past spring, we decided to take a crack at the whole gardening thing.We built two garden beds (more on those another time) and planted a variety of herbs and vegetables we enjoy. Being this was our first time caring for a garden, we have a lot of key learnings to apply to our next spring beds. We neglected to think about overcrowding and had to move plants around, we over watered and under watered, we put plants in partial shade when it needed direct sun - you name it, we did it!

However, we were successful in one area - herbs. We bought and planted the herbs we thought we would use the most including sage, basil and oregano. They were all fairly low maintenance, often regenerated and are super delicious!

When the first week of consistent cold weather came I knew I had to start storing my herbs before they died from the low temperatures. Here are five steps to make your own dried oregano.


1. Get Your Materials Ready

All you will need is a pair of gardening sheers, twine or string and the oregano. Simple enough, right?


2. Cut the Stems

Make sure when cutting the plant to cut closer to the bottom. You can do this throughout the summer and your plant will often regenerate. Once the stems are cut, place them in water until you are ready to tie and hang.


3. Hanging the Oregano

Bunch the oregano together and tie the twine around the base of the bunch. Find a dry location to hang the bunch and leave it there until dry. This bunch took just about two weeks. 


4. Removing the Leaves

Once the leaves are dry they will be easy to remove. Hold the stem from the top with one hand, pinch the top of the stem and run your fingers all the way down. All of the leaves should flake off. If not the bunch needs more time to dry. 


5. Grind the Leaves

The last step is to grind the leaves to a powder. Take the leaves and put them in a food processor (I simply used the Magic Bullet and it worked perfectly). Once at the desired consistency, put in a pretty little jar and use as needed.


Monday, September 29, 2014

Our Week In Review


a few pictures from this past week including a trip to Ben & Jerry's, visiting daddy at work, our 4th wedding anniversary, Mema and Pop-Pop babysitting for the weekend, sleeping past 6am, Avery going to temple for the first time, staining a dining room table, making a towel rack, mod podging Avery's stool and putting my brother to work sanding a Jenga.