Showing posts with label DIY. Show all posts

Tuesday, April 26, 2016

It's All In the Details


I'm still in disbelief that my baby sister has already been married for a year!  Yup, an entire year.  I may be a few days late but at least this is within the same month!


Wasn't she just five years old? Seriously, where has the time gone?   There was this one time that vividly stands out in my memory (maybe because we talk about it all the time) when she LITERALLY stole my Christmas present because it had the Little Mermaid on the front of the shirt. While I was blindsided by the millions of presents our parents used to buy for us, she proceeded to go into the other room and put it on so she could make it known that it was now her shirt.  As usual, I gave in and let her keep it.  I took my role as big sister seriously as you can see from the pictures below.


I think it was Dad who nicknamed her "The Mermaid Freak."  She is still a mermaid freak, however, you would never have known by looking at her wedding - no mermaids, or Sebastian, to be found! Some would say it's a miracle.


But regardless, as her big sister I have and always will have her back.  So, if mermaids are what she wants, mermaids are what she'll get!


Keith and I really wanted to do something handmade and special for their big day.  We talked about some ideas and narrowed in on creating  centerpieces and ceremony alter stands for the floral arrangements.  We were super excited to be involved and that we could provide my sister and brother-in-law with the one of a kind touch they were envisioning.


We worked with them on their vision and walked through some of their inspiration.  They identified that they wanted a refined rustic spring look and we got to work!


Kelli and Pat wanted to flank their ceremony space with two unique wooden stands so the florists could insert flower arrangements.  On a wedding budget, of course, we used pallet wood which worked out perfectly because the contrasting colors gave the altar stands more dimension and character.  The flowers sat right on top and sat on each side of the altar.  Since the stand was rustic in nature Kelli decided to keep in theme by making the flowers vibrant wild flowers.  They were stunning - the bride and groom, too!


This was no small wedding so in agreeing to make the centerpieces, we had unknowingly agreed to making about twenty centerpieces!  Good thing we love them.  We used pallet wood again to tie into the ceremony decor and created boxes for the table arrangements.  The flowers stayed in a vase and sat right within the box, which were offered guests to take at the end of the night.


Getting the wood prepared was the easy part.  There are many different ways to take a pallet apart however any opportunity to use a power tool, we will.  Keith took a reciprocating  saw with a metal blade running the blade between the pallet base and the planks, cutting through the nails.  This will not put added pressure on the pallet wood (which could cause it to break).  It will also retain the character of the wood.


Once you get your pallet separated it's all about putting together the pieces of the puzzle.  Some planks of wood are thicker and wider than others which will affect the thickness and height of the boxes.  If you can, match up similar sized pieces and then put the boxes together.  Once we had the pieces in similar piles we used an 18g Brad Nailer and it went rather quickly.


After we put the boxes together we made sure to sand down each box thoroughly.  We didn't want anyone to get splinters while managing or carrying them home.  Then we added a natural stain to help bring out some of the grain and varying colors in the wood.


To round out the decor, we decided to hand make the table numbers from the same pallet wood used for the ceremony altar and the centerpiece boxes.  Kelli and I spent a full day painting numbers with stencils onto the wood with me being in the early stages of pregnancy and with a two year old in tow. All in a days work.


In order to make the table numbers stand, we cut the pieces of wood at an angle and then used Gorilla Glue to add a small piece of wood to the bottom for stability.


The best part about all of these items is that they don't have to be perfect.  As a matter of fact, they wouldn't hold as much character if they were perfect.  They are relatively simple to make but certainly require lots of time and attention to detail.  We would do it again in a heartbeat!

The centerpiece boxes are currently listed in our ETSY shop. If you are interested in the table numbers or ceremony alter, request a custom order and we would love to help add a special touch to your special day.


Friday, April 22, 2016

If I Had A Million Dollars

Cue "If I had a Million Dollars" by the Bare Nakes Ladies.

Keith and I are always talking about what changes we would make to our house if we had unlimited resources. Pie in the sky aspirations for the house we raise our kids in. Then we realize that if we did have unlimited resources we wouldn't be living in the same house! Duh!

We try to stay somewhat grounded in our dreams for our home so we wanted to share some inspirational photos and blogs that speak to our realistic capabilities (and some DIY)... until we make that first million dollars, of course!


This beautiful refinished thrift find


A simple garage sale find turned showstopper


One of my favorite paint colors, Gray Clouds, and those eye catching tiles


A cozy outdoor spot for dinner, drinks and star gazing


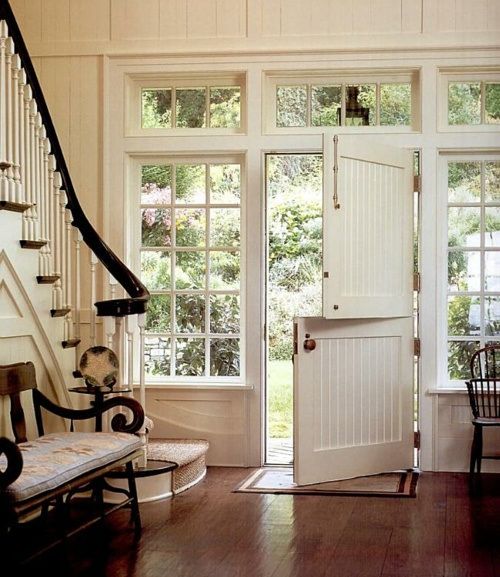
A jaw dropping dutch door to let the summer breeze roll through


Wednesday, December 16, 2015

French Provencial Table Rennovation


My close friend had recently bought a new home and we had been talking about all of the furniture she needed to buy since they were upgrading from a two bedroom apartment in the city to a four bedroom house in the suburbs. 

Luckily, our local Boys and Girls Club was having a rummage sale and had a lot of great furniture that I would have loved to refinish. These are the moments where I really wish we had a pick up truck. They were selling a beautiful french provincial table that I thought would be perfect for her kitchen table. So, I brought it home without consulting her and hoping that she would trust my judgement. 


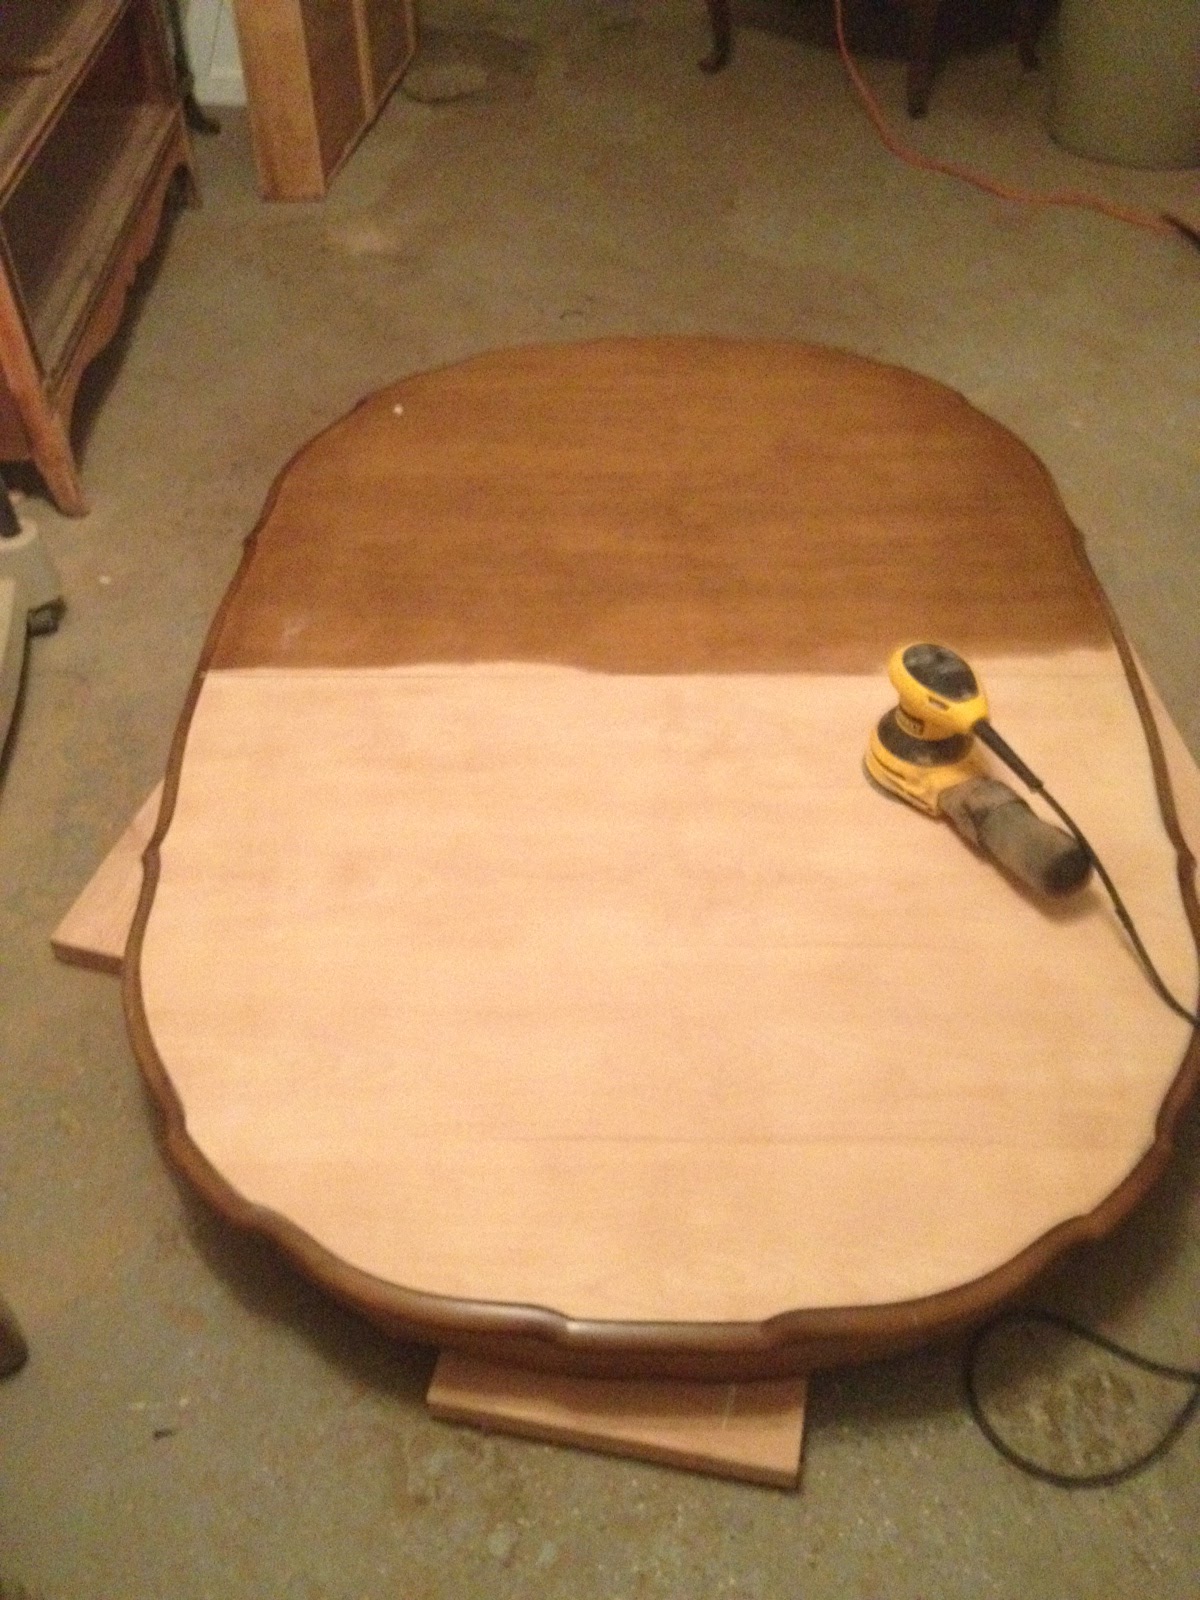
Since I decided to use Annie Sloan chalk paint, it took me two nights to paint the legs - one coat per night. Before I moved onto painting the table skirt I sanded the top of the table. This was quite a labor of love, let me tell you! There was a thick and stubborn coat of poly protecting this ugly stain and beautiful wood, that just didn't want to come off. 


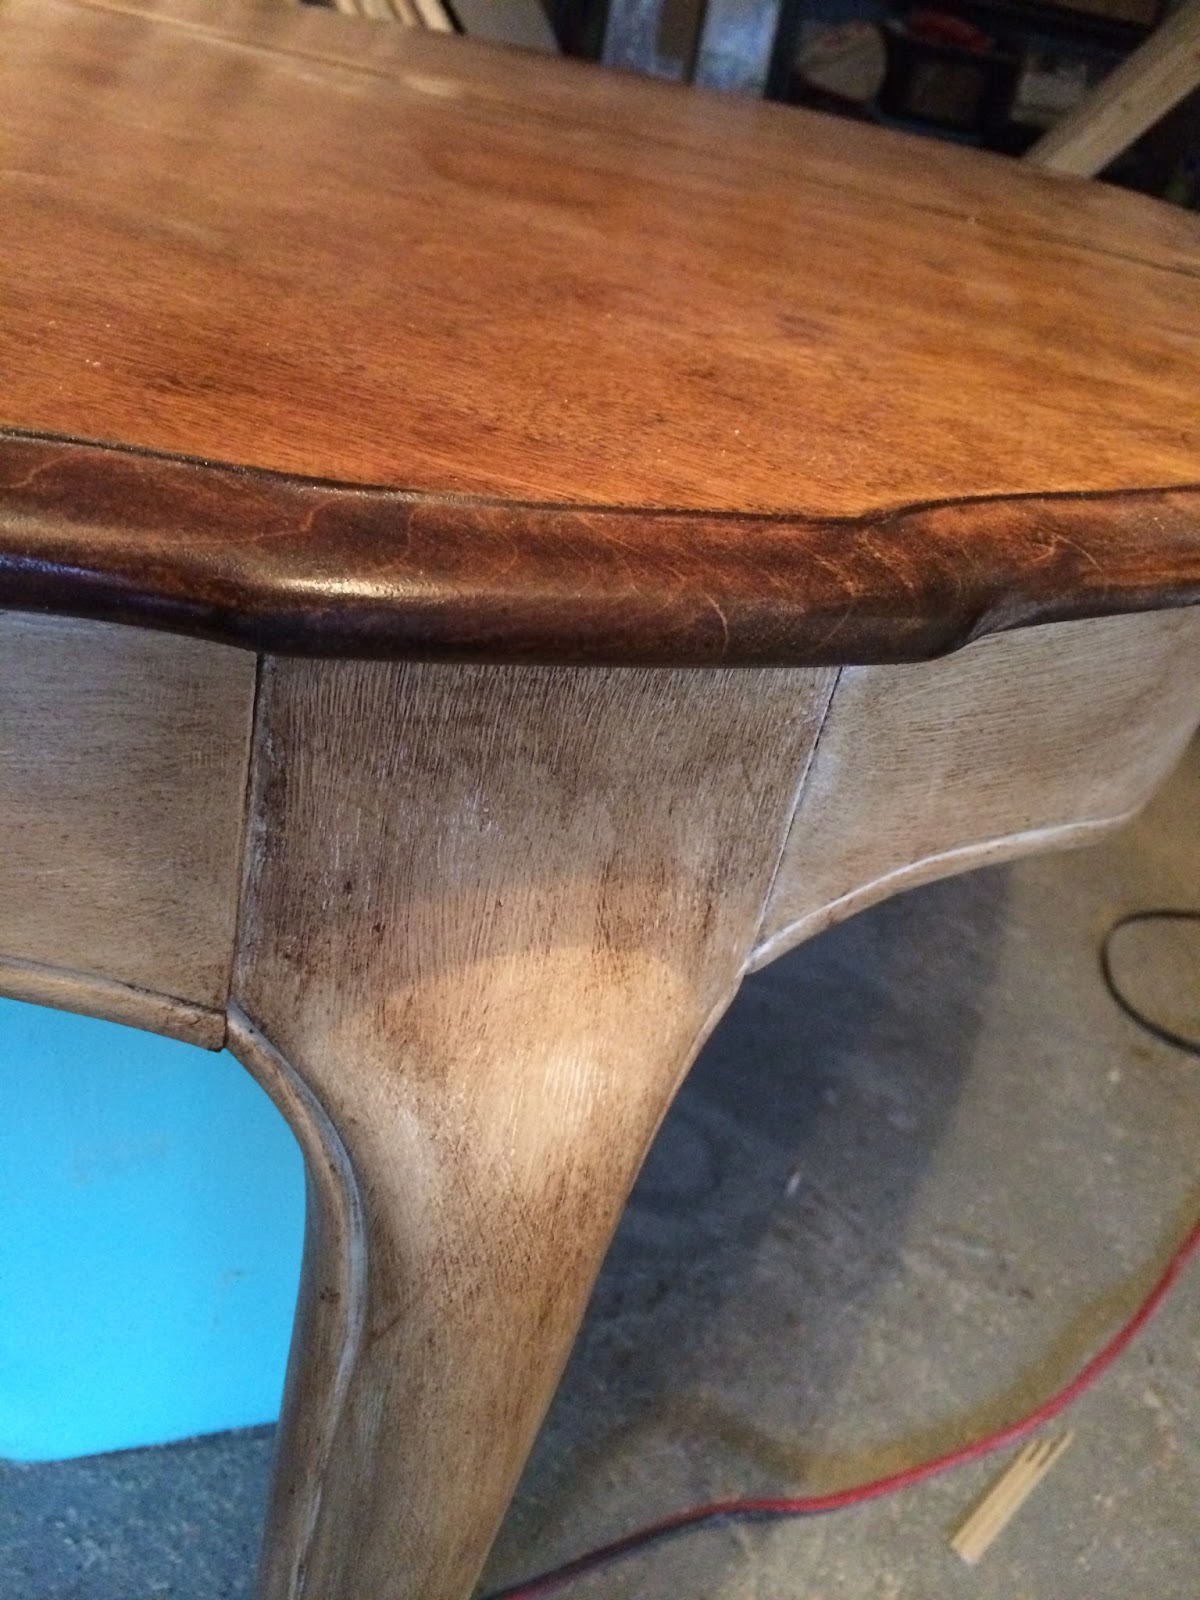
Once the top was completely sanded I moved onto the table skirt, which again, took another two days and another two coats. You can see from the picture below the difference one extra coat of paint makes. 


The top required a lot of sanding to remove the varnish and stain but the wood underneath was beautiful. We applied a wood conditioner before using Minwax Provincial stain. Make sure to have a tack cloth to clean away all of the fine dust and a staining pad to apply the conditioner and stain evenly. The last step in the process was to polyurethane the top to create a hard shell for protection and to antique the bottom (we used Annie Sloan Soft Dark Wax). Below are the progression pictures. It was a tedious and lengthy process but the end result was well worth it! 


Original finish


Conditioned
Finished Table Top


Monday, January 12, 2015

Industrial Pipe Curtain Rods


When we moved into our house last September the two projects we wanted to get done immediately were to change all of the locks and to put up window treatments. Well, over a year later and we still don't have all of our window coverings installed - but we're getting there. 

A big part of the delay was trying to determine exactly what we wanted to do. Window treatments aren't cheap so we wanted to be sure what we choose was going to be something we would really love.

Deciding the window treatments for the living room was an easy decision. We wanted to be able to have complete privacy (especially since our front porch looks right into our living room) but we also wanted to be able to allow as much light in as possible - so, blinds were a must. 

We installed the living room blinds knowing that we would eventually add window treatments once we figured out how we wanted to style the room.

The main room that has been the biggest problem for me has been the dining room. It's probably one of the most used rooms in the house, after the kitchen and the living room, and it overlooks our backyard and our neighbors backyard on the side. When I'm in the room I feel like I am in a fish bowl. We have four large windows, all currently exposed, and neighbors close enough that they could probably see in. 


Since moving in we have been doing some work in the dining room (we'll post about the room transformation in the future). We skim coated the walls, added wainscoting, built our dining room table, refinished chairs and painted the walls. It's taking a long time because we keep doing work little by little. 

Now that all of the walls were painted we were ready to talk about the windows! 

The one thing we were sure of were the curtain rods. We knew that we wanted to make them from industrial pipes. Here's how we did it...


MATERIALS:

Note: measurements may vary depending on window width. The window we used is a double window and 74" in width. 


 (2) Pipes = 3/4" x 36"


(3) 3/4" Floor Flanges


    (1) 3/4" Tee


    (3) 3/4" x 1 1/2" Nipples


    (2) 3/4" 90 degree Elbows


    TO ASSEMBLE:

    1. Start with the flanges since they attach to the wall and will be your base
    2. Connect the nipples to the flanges
    3. On two flanges, attach the 90 degree elbows. On the third, attach the tee
    4. Then attach all three flange sets with the pipes (flange/elbow sets will be on the ends and the tee set will be in the middle). If you are using curtains that slide onto the pole attach them now. If you are using curtains with rings you can attach them once the poles are screwed into the wall. You will have to be sure that all three flanges sit flat on the floor because they, of course, need to sit flat on the wall.
    5. We spray painted the assembled rods with Rustoleum's Metallic Spray Paint in Oil Rubbed Bronze to give it a cohesive, finished look.
    6. Time to hang! This does require a level and I suggest starting with the flange/tee in the middle so you can be sure the rod is centered on the window.


    We had these sheer curtains lying around and I thought they would look airy and allow a lot of light to still come through the big windows. After putting them up, I'm not in love. They're much too short and they don't frame the windows the way I would like. They do the trick of providing us with some privacy until we determine an option we like better. 

    Any recommendations?


    Tuesday, November 25, 2014

    The Never Ending To Do List

    When you go through the process of buying your first home you have this grand vision of what you want to change to make it "your home". Well, we just surpassed our one year anniversary and it seems like we can never check anything off the list.

    We bought an 84 year old home that was semi-flipped. What does semi-flipped mean? Semi-flipped means that they focused on the areas that would make them money including the kitchen and bathroom, refinishing the floors, new windows and roof, halfheartedly neglecting to focus on detail (FYI - this lack of detail, or sheer laziness, cost us to have to call a plumber because they washed tile grout down the bathtub and it hardened in the pipes). When buying a home, do your research and keep your eyes peeled during inspection. No matter what is found, you will always find more once you move into the home and start "using" everything.

    Ok, off my soap box! So, we decided to make a list of all of the projects we wanted to do with our home partially to keep track of everything we wanted to do and honestly, isn't it a great feeling to check items off your list?

    Here is our list, with accompanying pictures. We hopefully will be able to update periodically, you know, with all the free time we have.
    (Disclaimer: Please disregard the mess! We have a 2 year old little monster. You sympathize, right?)


    Front Yard/Porch

    - Sand, repair and paint the wood trim
    - Remove the bush and replant something more appealing
    - Paint the trim around the front door
    - Repaint the floor of the porch
    - Seal any cracks in the walkway
    - Replace exterior light near driveway


    Entrance

    - Strip molding, sand and paint
    - Fix cracks and uneven walls, patch and paint
    - Paint the trim around the front door
    - Replace the exterior light fixture
    - Build a bench for the seat with cubbies for baskets
    - Paint the bathroom door
    - Remove the pocket door and replace with a double sliding barn door
    - Change light fixture


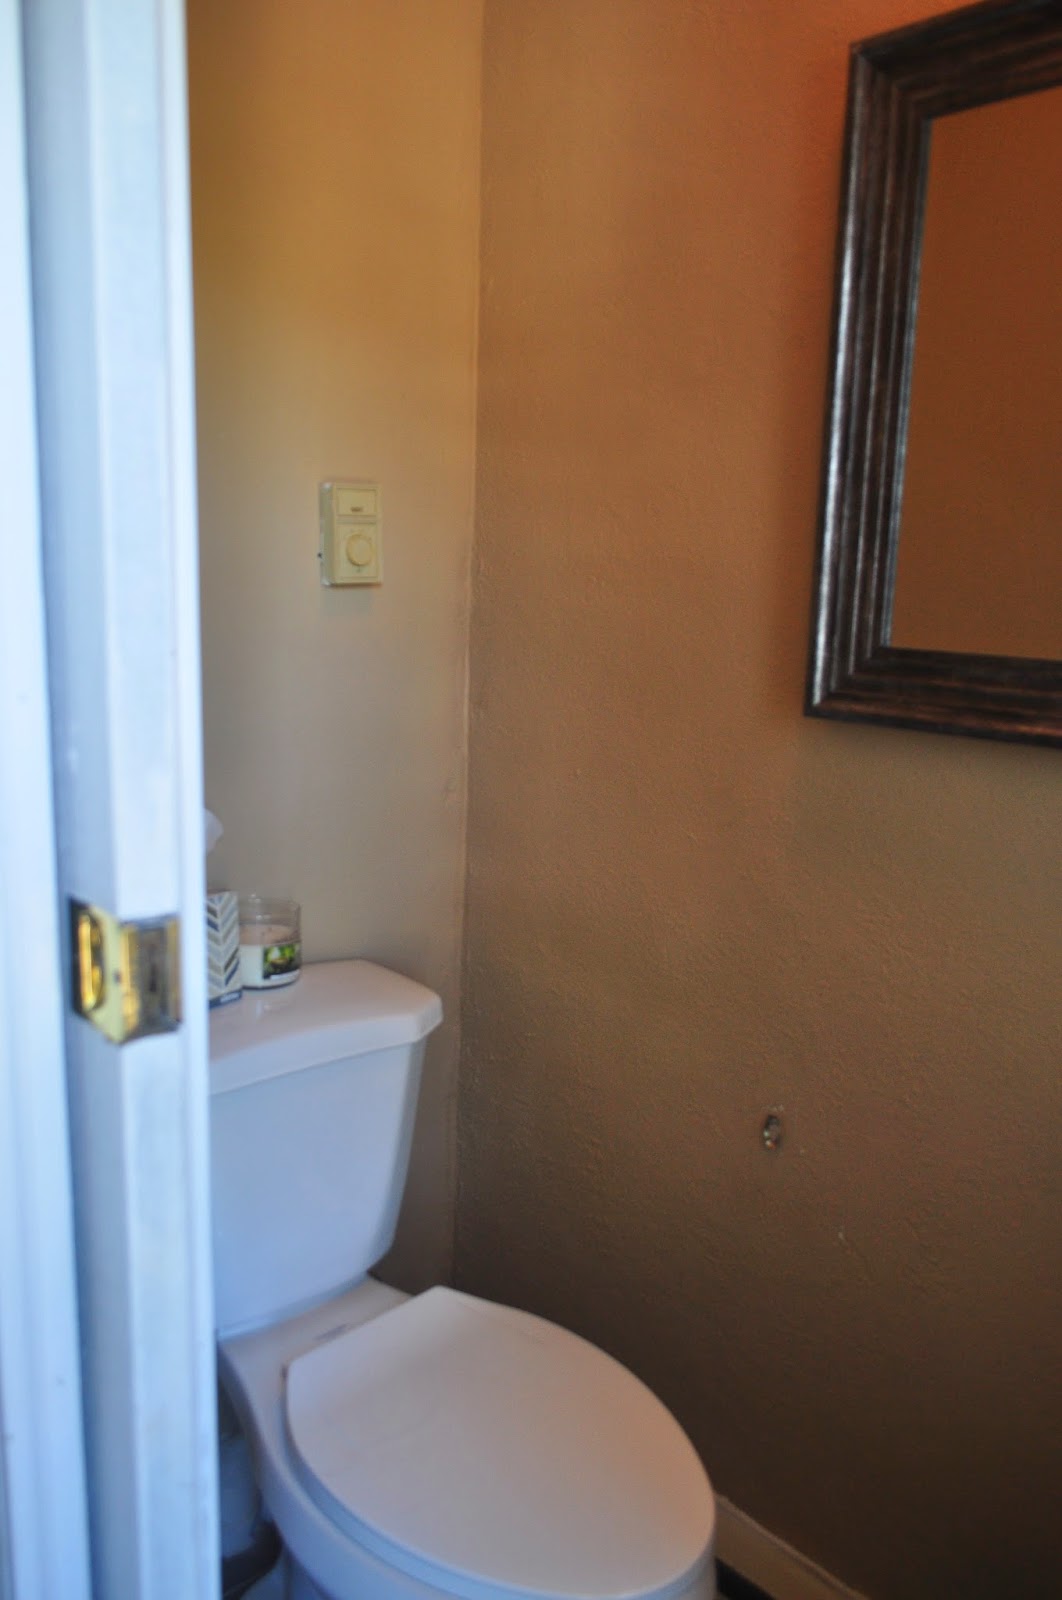
    Half Bathroom

    - Patch and skim coat walls
    - Strip, sand and paint molding
    - Paint the vanity
    - Fix faucet
    - Install shelving above the toilet
    - Replace towel holder
    - Hang artwork/decor


    Living Room

    - Hang artwork, pictures behind the couch
    - Build remaining radiator cover near Avery's play area
    - Build and install built-in's flanking the fireplace
    - Repaint the ceiling
    - Cover the archways with natural wood detail
    - Hang curtains
    - Get a larger circular coffee table
    - Build long, thin table for behind the couch
    - Install crown molding


    Dining Room

    - Finish painting the wainscoting
    - Update the light fixture
    - Find and refinish an old sideboard
    - Install crown molding
    - Hang artwork/decor 
    - Hang window curtains


    Kitchen

    - Paint cabinets
    - Paint the walls and trim
    - Hang artwork/decor
    - Replace backsplash
    - Build a radiator cover
    - Replace the basement door
    - Add window coverings


    Stairs to Second Floor / Upstairs Hallway

    - Remove carpet 
    - Repair, sand, stain and seal stairs
    - Strip baseboards
    - Paint the walls and baseboards
    - Add carpet runner
    - Refinish the handrail and affix with new hardware
    - Hang artwork/decor
    - Remove ceiling fan and patch
    - Replace light fixture
    - Close the hall closet opening and open/rebuild from the guest bedroom
    - Refinish the banister
    - Sand down all of the doors and repaint
    - Change the office door to open from the other side
    - Remove the pocket door to the guest bedroom and replace
    - Hang artwork/decor over stairs and in hallway 
    - Change hardware on all doors


    Master Bedroom

    - Strip baseboards and paint
    - Patch and paint room 
    - Hang curtains
    - Build radiator cover
    - Find vanity and refinish
    - Refinish long dresser
    - Maximize space in closet
    - Replace the attic door and casing
    - New bed frame
    - Rug 
    - Hang pictures and artwork
    - Refinish Ikea dresser

    Avery's Bedroom

    - Remove bookcase 
    - Add thick wood shelving on that wall
    - Add crafts table
    - Hang curtains
    - Add artwork/decor to walls
    - Add some paint color to the walls
    - Maximize storage in closet
    - Change light fixture
    - Get him big boy sheets

    Office

    - Paint
    - Install organization system on back wall for crafts
    - Fix closet and maximize storage
    - Add window treatments
    - Install new light fixture

    Guest Room

    - Paint
    - Move bed frame from Master (get mattress)
    - Install new light fixture
    - Replace carpet with hardwood floors
    - Paint radiator cover
    - Hang window coverings
    - Hang artwork/decor
    - Open up wall closet/close off hallway closet

    Backyard

    - Install gate
    - Build two garden beds
    - Remove concrete walkway
    - Lay down patio
    - French drain in the back