Showing posts with label home decor. Show all posts

Friday, April 22, 2016

If I Had A Million Dollars

Cue "If I had a Million Dollars" by the Bare Nakes Ladies.

Keith and I are always talking about what changes we would make to our house if we had unlimited resources. Pie in the sky aspirations for the house we raise our kids in. Then we realize that if we did have unlimited resources we wouldn't be living in the same house! Duh!

We try to stay somewhat grounded in our dreams for our home so we wanted to share some inspirational photos and blogs that speak to our realistic capabilities (and some DIY)... until we make that first million dollars, of course!


This beautiful refinished thrift find


A simple garage sale find turned showstopper


One of my favorite paint colors, Gray Clouds, and those eye catching tiles


A cozy outdoor spot for dinner, drinks and star gazing


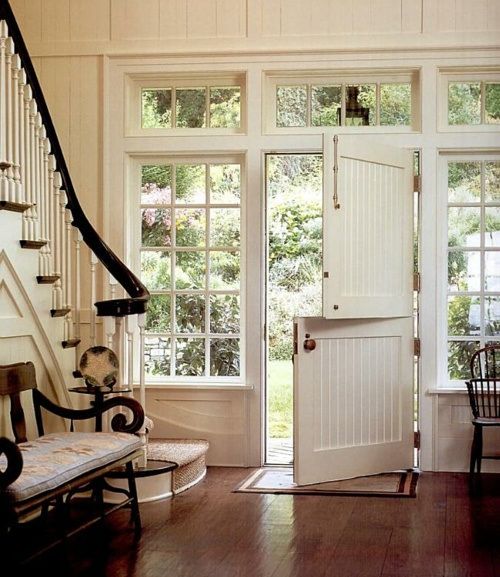
A jaw dropping dutch door to let the summer breeze roll through


Wednesday, December 16, 2015

French Provencial Table Rennovation


My close friend had recently bought a new home and we had been talking about all of the furniture she needed to buy since they were upgrading from a two bedroom apartment in the city to a four bedroom house in the suburbs. 

Luckily, our local Boys and Girls Club was having a rummage sale and had a lot of great furniture that I would have loved to refinish. These are the moments where I really wish we had a pick up truck. They were selling a beautiful french provincial table that I thought would be perfect for her kitchen table. So, I brought it home without consulting her and hoping that she would trust my judgement. 


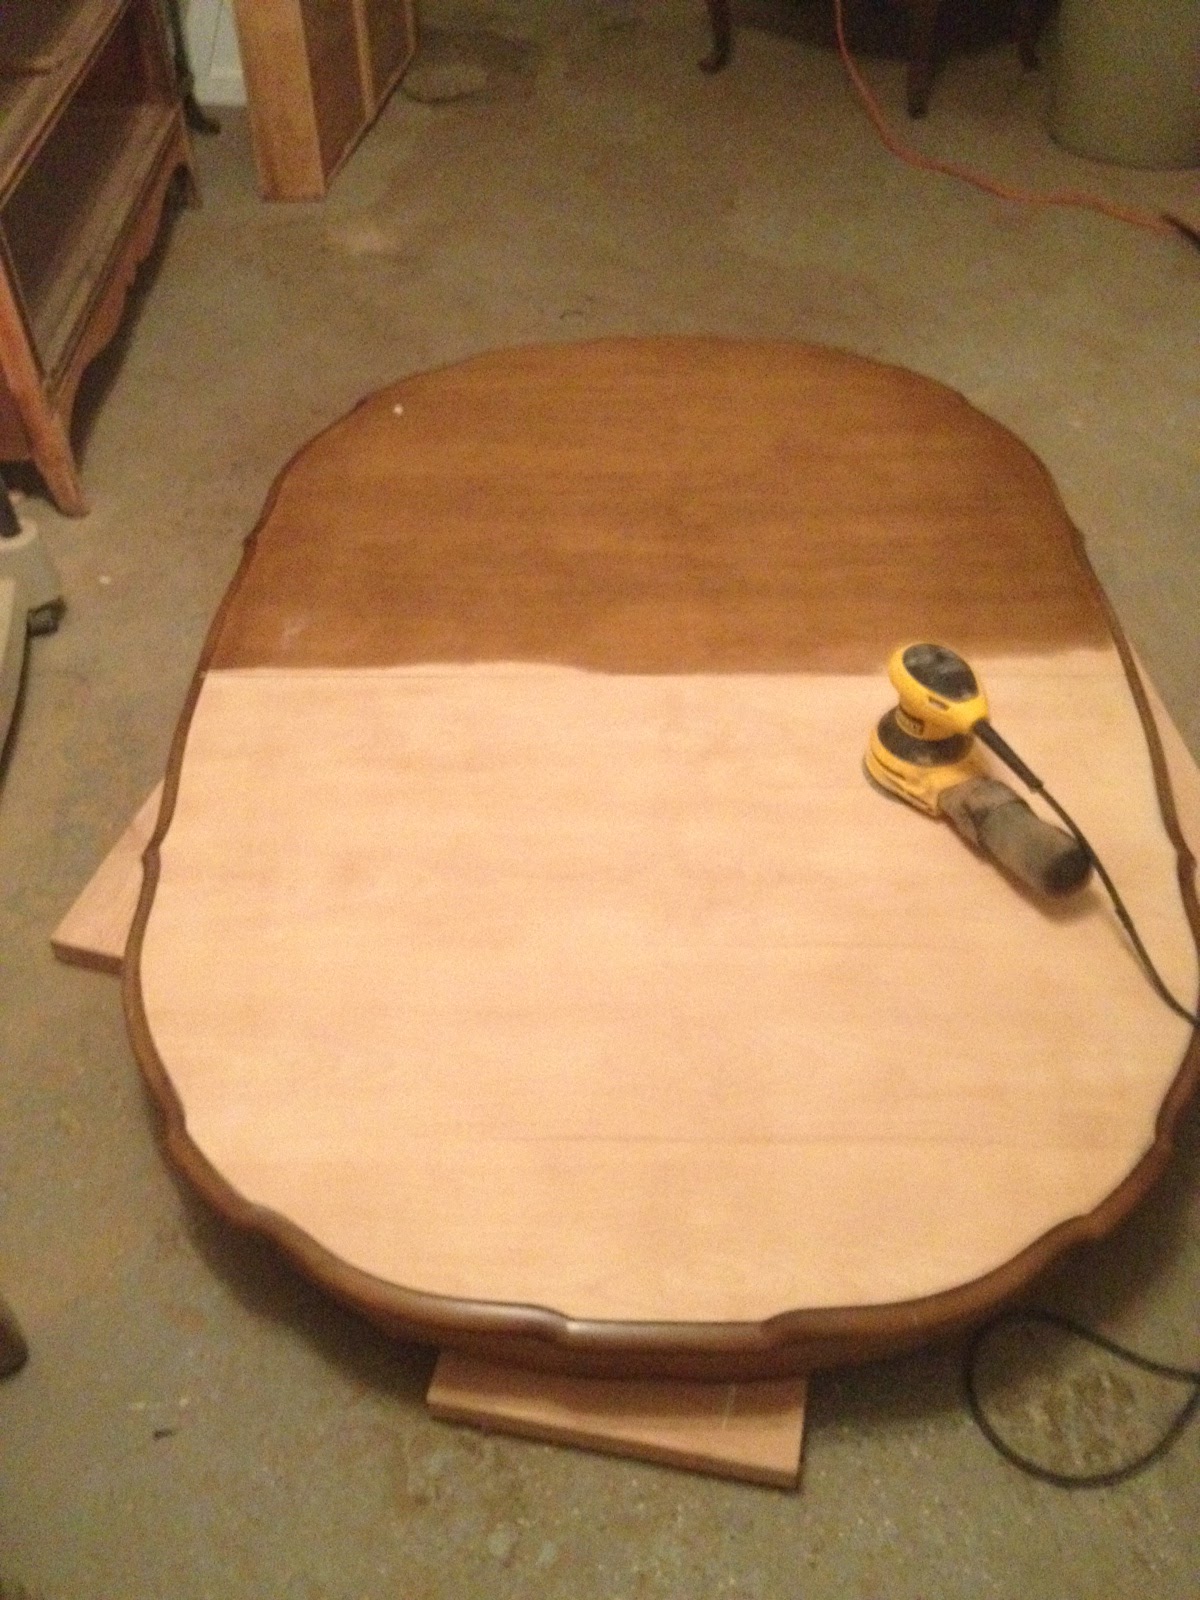
Since I decided to use Annie Sloan chalk paint, it took me two nights to paint the legs - one coat per night. Before I moved onto painting the table skirt I sanded the top of the table. This was quite a labor of love, let me tell you! There was a thick and stubborn coat of poly protecting this ugly stain and beautiful wood, that just didn't want to come off. 


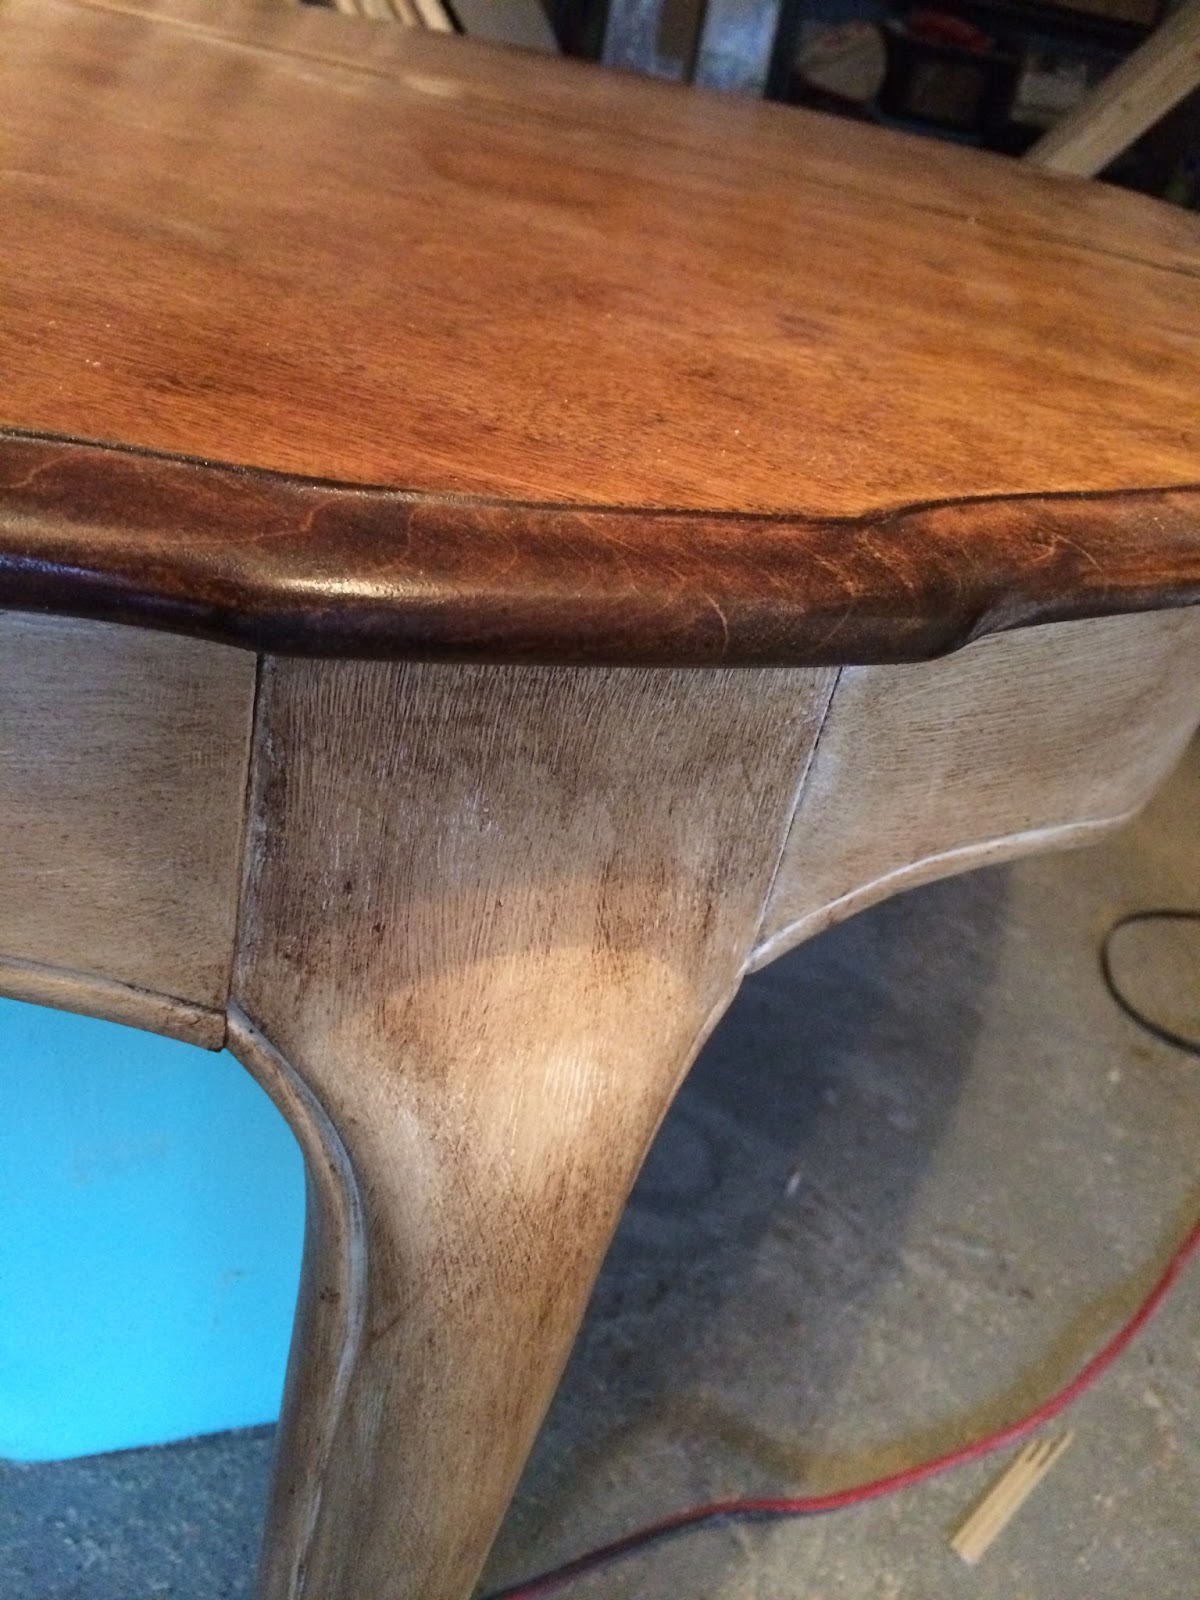
Once the top was completely sanded I moved onto the table skirt, which again, took another two days and another two coats. You can see from the picture below the difference one extra coat of paint makes. 


The top required a lot of sanding to remove the varnish and stain but the wood underneath was beautiful. We applied a wood conditioner before using Minwax Provincial stain. Make sure to have a tack cloth to clean away all of the fine dust and a staining pad to apply the conditioner and stain evenly. The last step in the process was to polyurethane the top to create a hard shell for protection and to antique the bottom (we used Annie Sloan Soft Dark Wax). Below are the progression pictures. It was a tedious and lengthy process but the end result was well worth it! 


Original finish


Conditioned
Finished Table Top


Friday, October 17, 2014

Covering Those Ugly Radiators

I remember my parents old kitchen when I was a kid... Dark red wallpaper with a white polka dot design. Little thin blacks vines encompassing the dots as they flowed to the ceiling.  Red linoleum covered the floor with a brick-like design.  It had a closed in feel at times due to the dark colors of the interior.  The one thing I remember distinctively is the wooden radiator cover.  It had a solid composition and was dressed in a very dark stain and shiny poly.  A perforated aluminum screen enclosed the front for ventilation.  When my parents redid their kitchen years after moving in, they installed baseboard heating and the radiator cover was history.

When we moved into our house last September, one of the things that was an immediate eye sore was the exposed radiators in each room - and I mean each and every room!  We had spoken to a plumber friend of ours about replacing them with baseboards and he looked at us like we were insane. He explained how much heat they retain when off and how they are the most efficient source of heat that is no longer made - so we decided to keep them and address the aesthetic issue instead.

I was noodling around Pinterest to gain some inspiration that matched our style but I was continuously striking out. A large majority of them had the aluminum grate in the front which we didn't feel would fit in well with our 85 year old home and our style.  I then saw a cover that was made entirely out of wood with these beautiful slats in the front to allow proper airflow.  I really liked the boldness of the wood than the understated grating.  The Craftsman style also meshed well with our aesthetic taste and would fit in perfectly in the living room... so I got to work.

Here is our latest and greatest! We are so happy how these came out. We used Minwax Natural stain and since these covers will be exposed to temperature changes, we applied three coats of Minwax's Helmsman Spar Urethane (in semi-gloss). I can't wait to make more of these!

BEFORE

Radiators without covers


AFTER

Beautiful Natural Wood Covers


Below is the first cover I completed for our living room. Since we spend most of our time in this room, we wanted to be sure we tackled this cover first to protect Avery. Here is the cover unfinished - I would have left it natural since the grain was beautiful but it didn't match the room - we painted it white semi-gloss to match the molding in the room.


Check out the images below for some of our recent projects.


We are currently offering our custom radiators through Etsy. Since these are custom pieces, please email us for pricing details. Be sure to include the radiator dimensions, preferred style, stain/paint/unfinished and anything else we should be aware of.