Showing posts with label projects. Show all posts

Wednesday, December 16, 2015

French Provencial Table Rennovation


My close friend had recently bought a new home and we had been talking about all of the furniture she needed to buy since they were upgrading from a two bedroom apartment in the city to a four bedroom house in the suburbs. 

Luckily, our local Boys and Girls Club was having a rummage sale and had a lot of great furniture that I would have loved to refinish. These are the moments where I really wish we had a pick up truck. They were selling a beautiful french provincial table that I thought would be perfect for her kitchen table. So, I brought it home without consulting her and hoping that she would trust my judgement. 


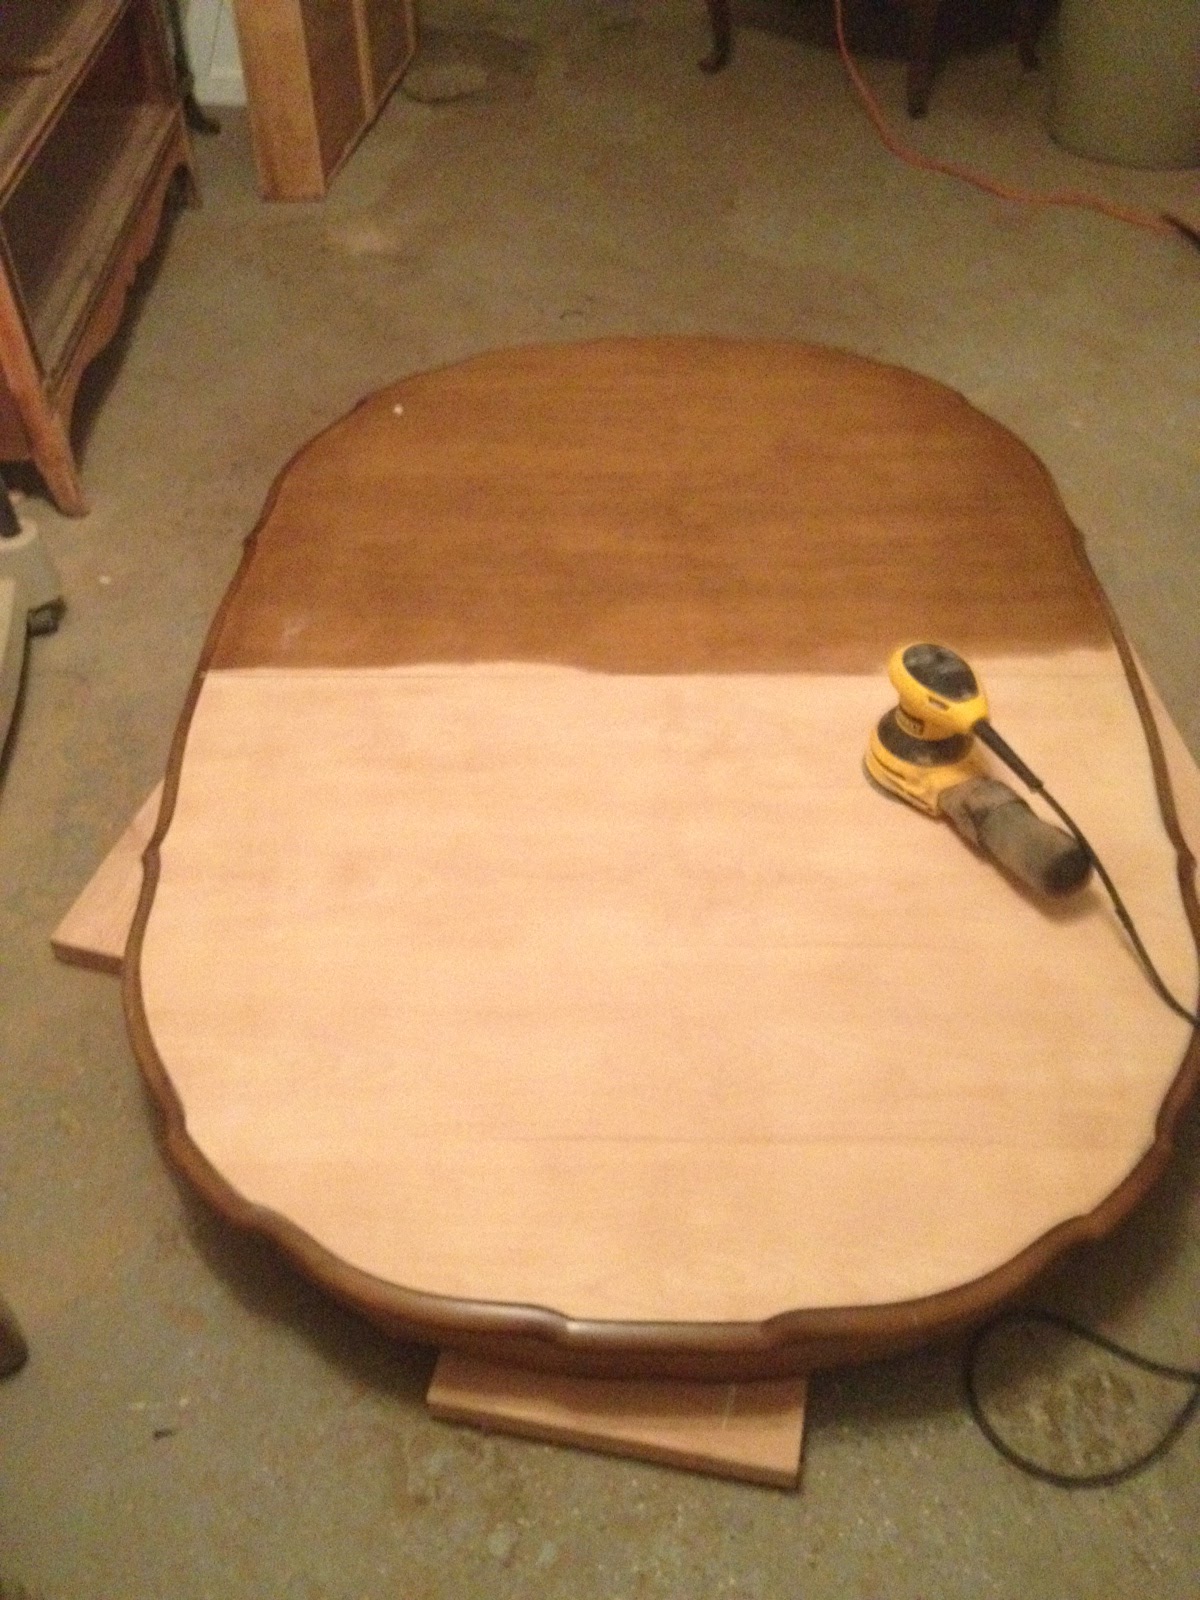
Since I decided to use Annie Sloan chalk paint, it took me two nights to paint the legs - one coat per night. Before I moved onto painting the table skirt I sanded the top of the table. This was quite a labor of love, let me tell you! There was a thick and stubborn coat of poly protecting this ugly stain and beautiful wood, that just didn't want to come off. 


Once the top was completely sanded I moved onto the table skirt, which again, took another two days and another two coats. You can see from the picture below the difference one extra coat of paint makes. 


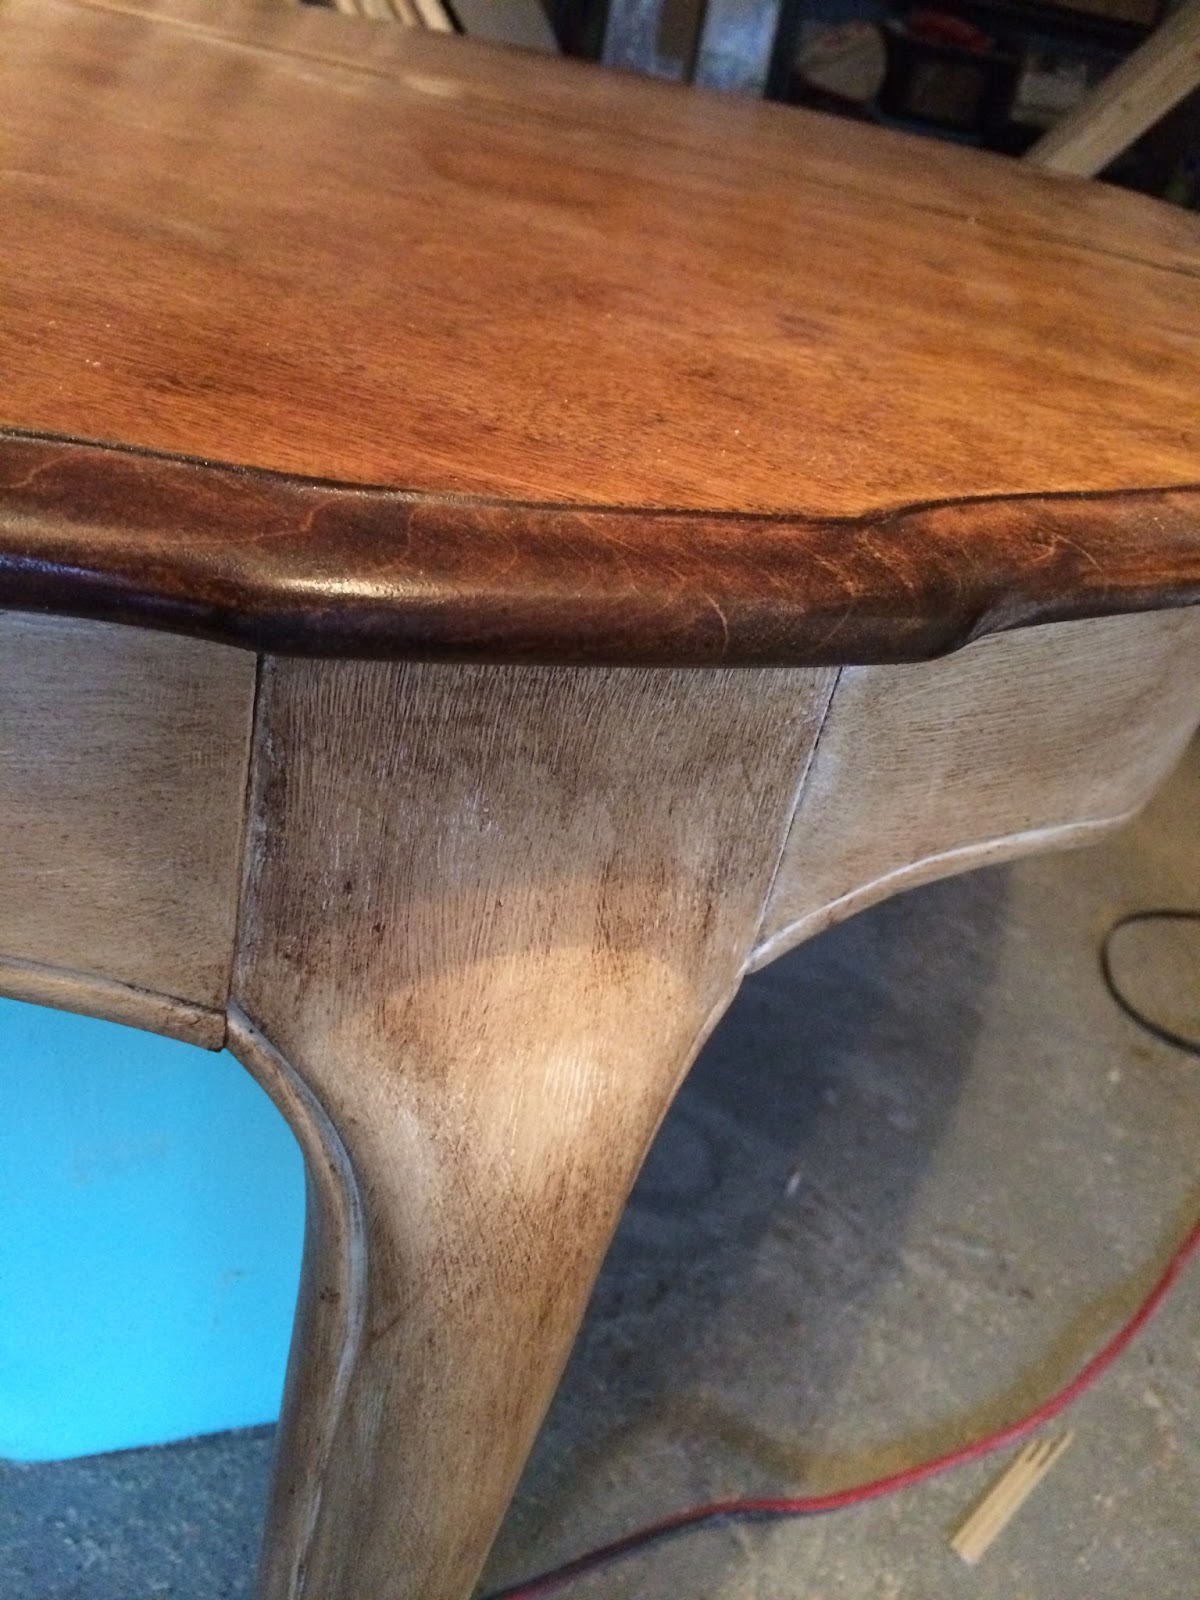
The top required a lot of sanding to remove the varnish and stain but the wood underneath was beautiful. We applied a wood conditioner before using Minwax Provincial stain. Make sure to have a tack cloth to clean away all of the fine dust and a staining pad to apply the conditioner and stain evenly. The last step in the process was to polyurethane the top to create a hard shell for protection and to antique the bottom (we used Annie Sloan Soft Dark Wax). Below are the progression pictures. It was a tedious and lengthy process but the end result was well worth it! 


Original finish


Conditioned
Finished Table Top


Tuesday, January 27, 2015

Baby Danilo's Pallet Toy Box


We are so excited that we have so many friends that are having babies. Not only because we get to swoon over the tiny little hands and feet but that we also get to make them one of a kind, creative gifts.


A few weeks ago we made our friends newborn, Lucas, a name coat rack for his room. You can find it here if you missed it. We had such a fun time making it that we were really excited to make baby Danilo's blanket box.


We had some left over pallet wood from other projects and put them the good use. We made sure to clean and sand down the wood really well to make sure the wood doesn't splinter. We had to be sure to make it as smooth as possible.


After building the frame with 1x2's and MDF for the bottom, we cut and attached the pallet wood. It took about three coast of grey spray paint and two coats of poly to smooth it out.


I love the details of the "D" and the spaceship. We popped some casters on and voila!


Friday, January 9, 2015

Lucas's Name Rack


One of the most rewarding things we get to do is make a piece for a good friend.  Especially when that friend just had a beautiful baby boy.

I wanted to create something original but at the same time, practical.  After trying to find inspiration online, I was striking out.  I knew I wanted to do something with his name on it but not your typical baby gift.

Just around this time I had come into some great pallet wood.  There was one piece in particular that stood out.  I am all about making things even and neat (it’s just me…I am OCD like that), but nothing about this piece had those features which was intriguing to me.

I think the fact that it isn't symmetrical is one of its greatest attributes, especially for this project.  It had such great character.

I started by sanding down the piece to ensure there were no splinters, especially since this is for a baby and may likely be put in his room.

Next, I put on a pre-stain conditioner and let it set for 24 hours.  When I returned the following day, the conditioner had really brought out the texture in the the wood.

I sanded it down, once again, to remove any fibers that were lifted from the conditioner and then applied a natural stain.  I wanted to keep the original look of the wood as much as possible.

At this point, I still didn't have a vision for the final product but then again, I usually never do. My vision usually develops and changes as the project does.

What helped me with this project was thinking of what I wish my 2 year old son would have.  Since Avery has made a pastime of throwing his coat, clothes and basically everything else on the floor, a clothing/coat rack could be a nice thing to have.

I choose the simple font of the letters because I didn't the attention to be taken away from the interesting detail of the wood. You can pick them up from Michael's, or any other craft store. OK, now I was seeing the project start to come together!


I wanted the letters to stand out from the board a bit to create a more three dimensional look.  The other important thing was that this piece needed a touch of color.  Not much but enough to add some vibrancy and life to a piece with otherwise neutral, and mostly natural wood, colors.  Adding the blue and pallet blocks served both purposes.


To finish off the piece, I added D-hooks to the back for easy wall hanging and hooks beneath each letter so Lucas can hang jackets and baseball caps in the future.


We are now offering this piece on our Etsy shop and can be customized in a ton of ways!

Monday, January 5, 2015

Toddler Art Desk


Our little man loves to draw and color (but seriously, what two year old doesn't), so when Avery and I came home one day to find this awesome little desk waiting for him in the middle of the living room, he was ecstatic! He ran to it, started pointing and screaming "wook mommy, wook!" Keith created it with a chalkboard top and ample storage for chalk, crayons and coloring books. It is the perfect little addition to our living/play room. 


It has been sitting in our living room ever since (a good year - I know, embarrassing), unfinished because I couldn't figure out what I wanted to do with it. It wasn't until baseball season came along that I knew exactly what to do - Yankee colors, of course! Avery is following in Keith's footsteps with his fascination and love for baseball. He sees the Yankee logo and screams "baseball!" It tugs at his daddy's heartstrings. 

We were having a project filled weekend this fall and decided to finally tackle finishing the desk with the help of my sister. A little paint and poly, and voila! 


Since then, we have built and designed several other desks for friends and clients along with the chairs and benches. We offer color/design customization and can adjust the size based on the age of  your child. The desk's shown have been used for children 2 years - 5 years. You can find them on our Etsy page. 


Tuesday, November 25, 2014

The Never Ending To Do List

When you go through the process of buying your first home you have this grand vision of what you want to change to make it "your home". Well, we just surpassed our one year anniversary and it seems like we can never check anything off the list.

We bought an 84 year old home that was semi-flipped. What does semi-flipped mean? Semi-flipped means that they focused on the areas that would make them money including the kitchen and bathroom, refinishing the floors, new windows and roof, halfheartedly neglecting to focus on detail (FYI - this lack of detail, or sheer laziness, cost us to have to call a plumber because they washed tile grout down the bathtub and it hardened in the pipes). When buying a home, do your research and keep your eyes peeled during inspection. No matter what is found, you will always find more once you move into the home and start "using" everything.

Ok, off my soap box! So, we decided to make a list of all of the projects we wanted to do with our home partially to keep track of everything we wanted to do and honestly, isn't it a great feeling to check items off your list?

Here is our list, with accompanying pictures. We hopefully will be able to update periodically, you know, with all the free time we have.
(Disclaimer: Please disregard the mess! We have a 2 year old little monster. You sympathize, right?)


Front Yard/Porch

- Sand, repair and paint the wood trim
- Remove the bush and replant something more appealing
- Paint the trim around the front door
- Repaint the floor of the porch
- Seal any cracks in the walkway
- Replace exterior light near driveway


Entrance

- Strip molding, sand and paint
- Fix cracks and uneven walls, patch and paint
- Paint the trim around the front door
- Replace the exterior light fixture
- Build a bench for the seat with cubbies for baskets
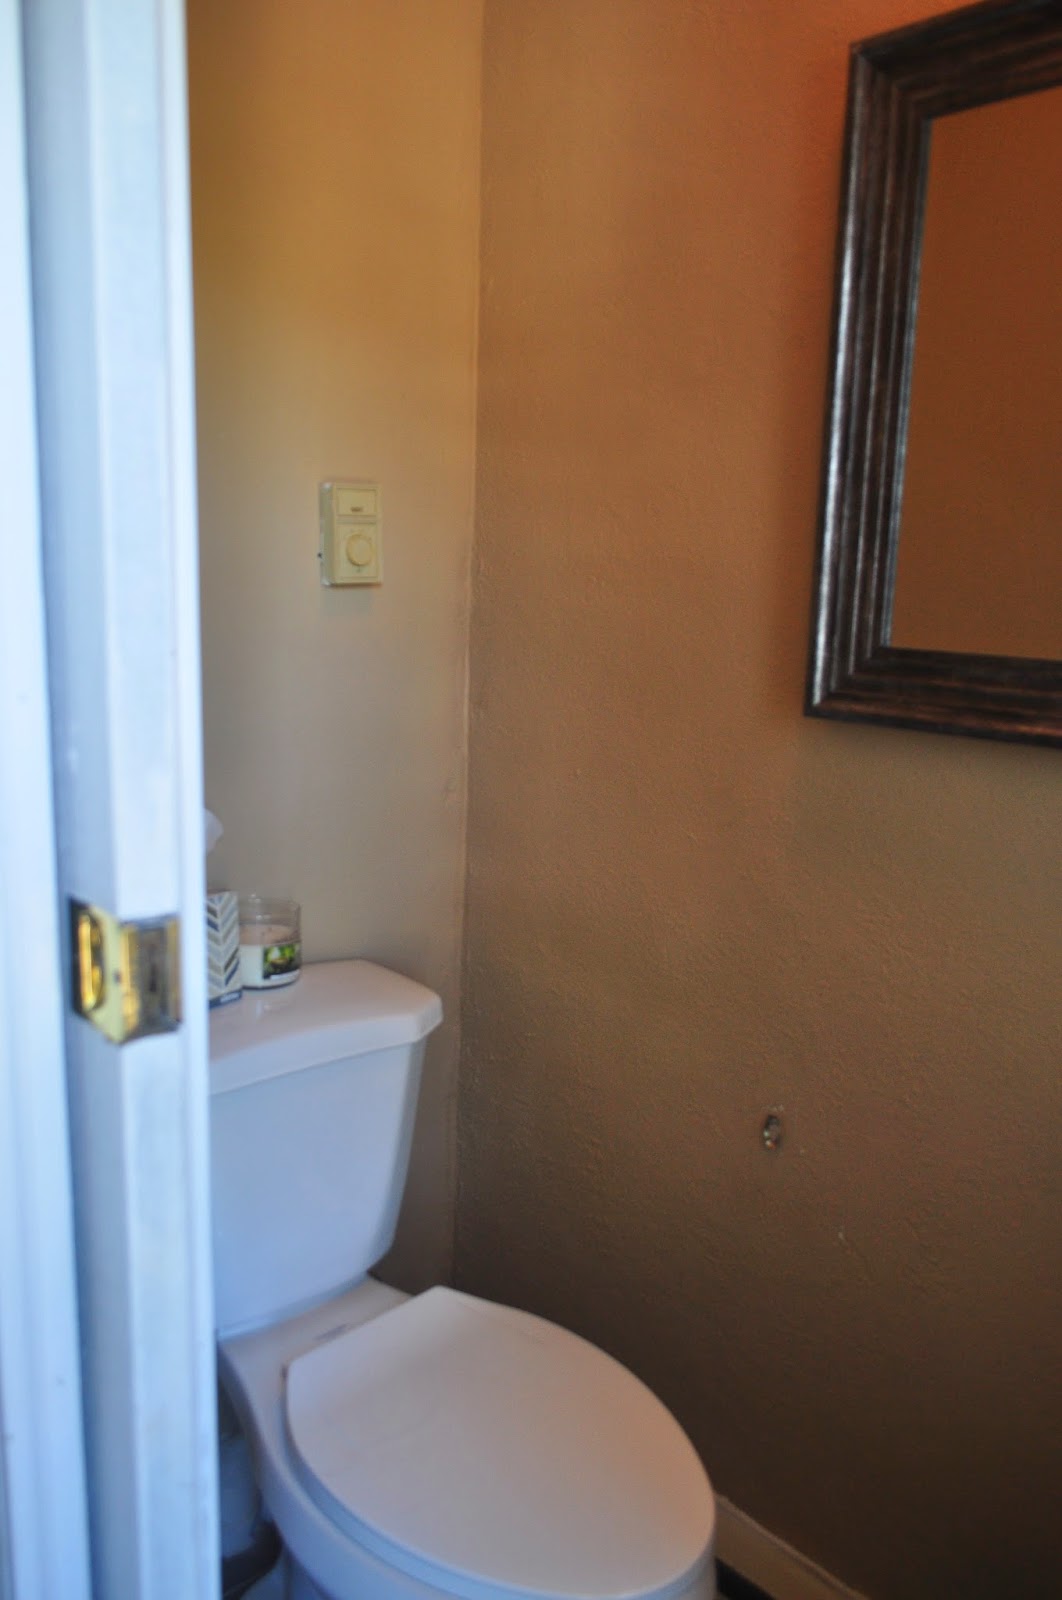
- Paint the bathroom door
- Remove the pocket door and replace with a double sliding barn door
- Change light fixture


Half Bathroom

- Patch and skim coat walls
- Strip, sand and paint molding
- Paint the vanity
- Fix faucet
- Install shelving above the toilet
- Replace towel holder
- Hang artwork/decor


Living Room

- Hang artwork, pictures behind the couch
- Build remaining radiator cover near Avery's play area
- Build and install built-in's flanking the fireplace
- Repaint the ceiling
- Cover the archways with natural wood detail
- Hang curtains
- Get a larger circular coffee table
- Build long, thin table for behind the couch
- Install crown molding


Dining Room

- Finish painting the wainscoting
- Update the light fixture
- Find and refinish an old sideboard
- Install crown molding
- Hang artwork/decor 
- Hang window curtains


Kitchen

- Paint cabinets
- Paint the walls and trim
- Hang artwork/decor
- Replace backsplash
- Build a radiator cover
- Replace the basement door
- Add window coverings


Stairs to Second Floor / Upstairs Hallway

- Remove carpet 
- Repair, sand, stain and seal stairs
- Strip baseboards
- Paint the walls and baseboards
- Add carpet runner
- Refinish the handrail and affix with new hardware
- Hang artwork/decor
- Remove ceiling fan and patch
- Replace light fixture
- Close the hall closet opening and open/rebuild from the guest bedroom
- Refinish the banister
- Sand down all of the doors and repaint
- Change the office door to open from the other side
- Remove the pocket door to the guest bedroom and replace
- Hang artwork/decor over stairs and in hallway 
- Change hardware on all doors


Master Bedroom

- Strip baseboards and paint
- Patch and paint room 
- Hang curtains
- Build radiator cover
- Find vanity and refinish
- Refinish long dresser
- Maximize space in closet
- Replace the attic door and casing
- New bed frame
- Rug 
- Hang pictures and artwork
- Refinish Ikea dresser

Avery's Bedroom

- Remove bookcase 
- Add thick wood shelving on that wall
- Add crafts table
- Hang curtains
- Add artwork/decor to walls
- Add some paint color to the walls
- Maximize storage in closet
- Change light fixture
- Get him big boy sheets

Office

- Paint
- Install organization system on back wall for crafts
- Fix closet and maximize storage
- Add window treatments
- Install new light fixture

Guest Room

- Paint
- Move bed frame from Master (get mattress)
- Install new light fixture
- Replace carpet with hardwood floors
- Paint radiator cover
- Hang window coverings
- Hang artwork/decor
- Open up wall closet/close off hallway closet

Backyard

- Install gate
- Build two garden beds
- Remove concrete walkway
- Lay down patio
- French drain in the back


Friday, October 17, 2014

Covering Those Ugly Radiators

I remember my parents old kitchen when I was a kid... Dark red wallpaper with a white polka dot design. Little thin blacks vines encompassing the dots as they flowed to the ceiling.  Red linoleum covered the floor with a brick-like design.  It had a closed in feel at times due to the dark colors of the interior.  The one thing I remember distinctively is the wooden radiator cover.  It had a solid composition and was dressed in a very dark stain and shiny poly.  A perforated aluminum screen enclosed the front for ventilation.  When my parents redid their kitchen years after moving in, they installed baseboard heating and the radiator cover was history.

When we moved into our house last September, one of the things that was an immediate eye sore was the exposed radiators in each room - and I mean each and every room!  We had spoken to a plumber friend of ours about replacing them with baseboards and he looked at us like we were insane. He explained how much heat they retain when off and how they are the most efficient source of heat that is no longer made - so we decided to keep them and address the aesthetic issue instead.

I was noodling around Pinterest to gain some inspiration that matched our style but I was continuously striking out. A large majority of them had the aluminum grate in the front which we didn't feel would fit in well with our 85 year old home and our style.  I then saw a cover that was made entirely out of wood with these beautiful slats in the front to allow proper airflow.  I really liked the boldness of the wood than the understated grating.  The Craftsman style also meshed well with our aesthetic taste and would fit in perfectly in the living room... so I got to work.

Here is our latest and greatest! We are so happy how these came out. We used Minwax Natural stain and since these covers will be exposed to temperature changes, we applied three coats of Minwax's Helmsman Spar Urethane (in semi-gloss). I can't wait to make more of these!

BEFORE

Radiators without covers


AFTER

Beautiful Natural Wood Covers


Below is the first cover I completed for our living room. Since we spend most of our time in this room, we wanted to be sure we tackled this cover first to protect Avery. Here is the cover unfinished - I would have left it natural since the grain was beautiful but it didn't match the room - we painted it white semi-gloss to match the molding in the room.


Check out the images below for some of our recent projects.


We are currently offering our custom radiators through Etsy. Since these are custom pieces, please email us for pricing details. Be sure to include the radiator dimensions, preferred style, stain/paint/unfinished and anything else we should be aware of.