Showing posts with label family. Show all posts

Thursday, April 28, 2016

7 Ways to Find Hidden Gems for Close to Nothing


It's not hard to find furniture to refinish, you just have to know where to look to get a good deal. Most of the places below may seem like common sense but that's because they work! We have had a lot of luck with each of these that we wanted to pass along to you.


1. Garage / Estate Sales  


This is the best time of the year to hit up the garage and estate sales. There are some really great websites including GSALR,  Garage Sales Tracker, Garage Sale Finder, YardSales.net and Yard Sale Search to name a few.  You can try setting up alerts in your area so you don't miss any!


2. Craigslist


Craigslist is typically a popular platform for people to buy and sell furniture because you are able to search based on what is local to you - saving any shipping costs, which can rack up with heavy items. You can think of Craigslist as a virtual garage sale. Just be careful, use good judgement and meet in public locations.


3. Facebook  


We probably use Facebook more than any other platform for furniture. You are able to join multiple groups in your area, get alerts on new items posted and work with people on pricing.

Similar to Craigslist, watch out for scammers and be safe when you are navigating a transaction. Try meeting in a busy parking lot. If that isn't possible (e.g. the item is too heavy or too hard to move) make sure you you arrive with someone when picking up or have someone with you when the buyer comes to your house.


4. Thrift Store / Charity Shop


Try searching in your area for store fronts, or organizations, that receive items as donations, resell them and then give the profit to a charity. There are a few search engines, similar to the garage sales, that you can use - The Thrift Shopper, Thrift Stores.net and Thrift Store Listings.  By the way, doesn't this photo make you think of Macklemore dancing through a thrift shop with a mink coat! "I'm gonna pop some tags, only got $20 in my pocket"


5. Church / School / Organization Fundraisers


Quite often various organizations will host fundraisers where the members of that organization will bring in items to see and all of the proceeds go back to the organization. Keep an eye out for what events are taking place in your neighborhood - a lot of the time these events will be promoted on Facebook, in community newspapers and, of course, within the organization itself. 


6. Friends, Family and Neighbors


Whenever someone is moving or spring cleaning we make sure to ask them if they plan on getting rid of any furniture. You can usually score some great pieces for close to nothing!

7. Your Own Home


Look around your home and instead of throwing out that old cabinet in the garage put your imagination to the test! You will be surprised at your hidden talent and how easily you can make something you were going to toss look great again. Most old furniture

Tuesday, April 26, 2016

It's All In the Details


I'm still in disbelief that my baby sister has already been married for a year!  Yup, an entire year.  I may be a few days late but at least this is within the same month!


Wasn't she just five years old? Seriously, where has the time gone?   There was this one time that vividly stands out in my memory (maybe because we talk about it all the time) when she LITERALLY stole my Christmas present because it had the Little Mermaid on the front of the shirt. While I was blindsided by the millions of presents our parents used to buy for us, she proceeded to go into the other room and put it on so she could make it known that it was now her shirt.  As usual, I gave in and let her keep it.  I took my role as big sister seriously as you can see from the pictures below.


I think it was Dad who nicknamed her "The Mermaid Freak."  She is still a mermaid freak, however, you would never have known by looking at her wedding - no mermaids, or Sebastian, to be found! Some would say it's a miracle.


But regardless, as her big sister I have and always will have her back.  So, if mermaids are what she wants, mermaids are what she'll get!


Keith and I really wanted to do something handmade and special for their big day.  We talked about some ideas and narrowed in on creating  centerpieces and ceremony alter stands for the floral arrangements.  We were super excited to be involved and that we could provide my sister and brother-in-law with the one of a kind touch they were envisioning.


We worked with them on their vision and walked through some of their inspiration.  They identified that they wanted a refined rustic spring look and we got to work!


Kelli and Pat wanted to flank their ceremony space with two unique wooden stands so the florists could insert flower arrangements.  On a wedding budget, of course, we used pallet wood which worked out perfectly because the contrasting colors gave the altar stands more dimension and character.  The flowers sat right on top and sat on each side of the altar.  Since the stand was rustic in nature Kelli decided to keep in theme by making the flowers vibrant wild flowers.  They were stunning - the bride and groom, too!


This was no small wedding so in agreeing to make the centerpieces, we had unknowingly agreed to making about twenty centerpieces!  Good thing we love them.  We used pallet wood again to tie into the ceremony decor and created boxes for the table arrangements.  The flowers stayed in a vase and sat right within the box, which were offered guests to take at the end of the night.


Getting the wood prepared was the easy part.  There are many different ways to take a pallet apart however any opportunity to use a power tool, we will.  Keith took a reciprocating  saw with a metal blade running the blade between the pallet base and the planks, cutting through the nails.  This will not put added pressure on the pallet wood (which could cause it to break).  It will also retain the character of the wood.


Once you get your pallet separated it's all about putting together the pieces of the puzzle.  Some planks of wood are thicker and wider than others which will affect the thickness and height of the boxes.  If you can, match up similar sized pieces and then put the boxes together.  Once we had the pieces in similar piles we used an 18g Brad Nailer and it went rather quickly.


After we put the boxes together we made sure to sand down each box thoroughly.  We didn't want anyone to get splinters while managing or carrying them home.  Then we added a natural stain to help bring out some of the grain and varying colors in the wood.


To round out the decor, we decided to hand make the table numbers from the same pallet wood used for the ceremony altar and the centerpiece boxes.  Kelli and I spent a full day painting numbers with stencils onto the wood with me being in the early stages of pregnancy and with a two year old in tow. All in a days work.


In order to make the table numbers stand, we cut the pieces of wood at an angle and then used Gorilla Glue to add a small piece of wood to the bottom for stability.


The best part about all of these items is that they don't have to be perfect.  As a matter of fact, they wouldn't hold as much character if they were perfect.  They are relatively simple to make but certainly require lots of time and attention to detail.  We would do it again in a heartbeat!

The centerpiece boxes are currently listed in our ETSY shop. If you are interested in the table numbers or ceremony alter, request a custom order and we would love to help add a special touch to your special day.


Friday, May 22, 2015

Sorry for our absence but...


We're expecting! To say it has been a tough ride is quite an understatement. But this isn't new to me.

Back when I had Avery I started having severe morning sickness around the sixth week. The doctors had me try everything under the sun to help control my symptoms. From the natural remedies - ate ginger candies, sucked on ice pops, drank morning sickness tea, sucked on citrus and drank so much ginger ale I can't even look at the can without all of those feeling rushing back. To the medically prescribed - I wore acupressure bracelets and took various prenatal vitamins with B6 meant to help with this symptom.

After all of that and about three weeks later, with no progress and visits to the ER because I was so dehydrated, they prescribed me Zofran and diagnosed me with hyperemesis gravidarum. This was a pivotal point in my pregnancy.

I was so malnourished and continuously dehydrated that I was sent to the labor and delivery floor at the hospital for fluids. I also lost over 10 lbs in my first trimester. It was not fun.


Well, I was hoping this time around would be much different. I mean, the doctor said "every pregnancy is different," so there was hope. False hope that is.

This pregnancy has been much more of a roller coaster ride than the damage Avery did. Believe it or not. And again, it all started at about six weeks and is still ongoing. Like the first time I made a visit to the ER and my doctor provided me with weekly hydration treatments to keep my fluids at a more normal state.

I still take Zofran and I still do the home remedies, but the feeling has definitely lessened now that I am in my second trimester. 


Keith and I are thrilled to be welcoming a little girl in October and so is our resident super hero. We had the most special day with our families celebrating Mother's Day, the gender reveal and my 30th birthday two days later. It feels so great not to keep it a secret and to be able to start planning and decorating our little lady's nursery. Stay tuned for developments. 

Friday, January 9, 2015

Lucas's Name Rack


One of the most rewarding things we get to do is make a piece for a good friend.  Especially when that friend just had a beautiful baby boy.

I wanted to create something original but at the same time, practical.  After trying to find inspiration online, I was striking out.  I knew I wanted to do something with his name on it but not your typical baby gift.

Just around this time I had come into some great pallet wood.  There was one piece in particular that stood out.  I am all about making things even and neat (it’s just me…I am OCD like that), but nothing about this piece had those features which was intriguing to me.

I think the fact that it isn't symmetrical is one of its greatest attributes, especially for this project.  It had such great character.

I started by sanding down the piece to ensure there were no splinters, especially since this is for a baby and may likely be put in his room.

Next, I put on a pre-stain conditioner and let it set for 24 hours.  When I returned the following day, the conditioner had really brought out the texture in the the wood.

I sanded it down, once again, to remove any fibers that were lifted from the conditioner and then applied a natural stain.  I wanted to keep the original look of the wood as much as possible.

At this point, I still didn't have a vision for the final product but then again, I usually never do. My vision usually develops and changes as the project does.

What helped me with this project was thinking of what I wish my 2 year old son would have.  Since Avery has made a pastime of throwing his coat, clothes and basically everything else on the floor, a clothing/coat rack could be a nice thing to have.

I choose the simple font of the letters because I didn't the attention to be taken away from the interesting detail of the wood. You can pick them up from Michael's, or any other craft store. OK, now I was seeing the project start to come together!


I wanted the letters to stand out from the board a bit to create a more three dimensional look.  The other important thing was that this piece needed a touch of color.  Not much but enough to add some vibrancy and life to a piece with otherwise neutral, and mostly natural wood, colors.  Adding the blue and pallet blocks served both purposes.


To finish off the piece, I added D-hooks to the back for easy wall hanging and hooks beneath each letter so Lucas can hang jackets and baseball caps in the future.


We are now offering this piece on our Etsy shop and can be customized in a ton of ways!

Tuesday, November 25, 2014

The Never Ending To Do List

When you go through the process of buying your first home you have this grand vision of what you want to change to make it "your home". Well, we just surpassed our one year anniversary and it seems like we can never check anything off the list.

We bought an 84 year old home that was semi-flipped. What does semi-flipped mean? Semi-flipped means that they focused on the areas that would make them money including the kitchen and bathroom, refinishing the floors, new windows and roof, halfheartedly neglecting to focus on detail (FYI - this lack of detail, or sheer laziness, cost us to have to call a plumber because they washed tile grout down the bathtub and it hardened in the pipes). When buying a home, do your research and keep your eyes peeled during inspection. No matter what is found, you will always find more once you move into the home and start "using" everything.

Ok, off my soap box! So, we decided to make a list of all of the projects we wanted to do with our home partially to keep track of everything we wanted to do and honestly, isn't it a great feeling to check items off your list?

Here is our list, with accompanying pictures. We hopefully will be able to update periodically, you know, with all the free time we have.
(Disclaimer: Please disregard the mess! We have a 2 year old little monster. You sympathize, right?)


Front Yard/Porch

- Sand, repair and paint the wood trim
- Remove the bush and replant something more appealing
- Paint the trim around the front door
- Repaint the floor of the porch
- Seal any cracks in the walkway
- Replace exterior light near driveway


Entrance

- Strip molding, sand and paint
- Fix cracks and uneven walls, patch and paint
- Paint the trim around the front door
- Replace the exterior light fixture
- Build a bench for the seat with cubbies for baskets
- Paint the bathroom door
- Remove the pocket door and replace with a double sliding barn door
- Change light fixture


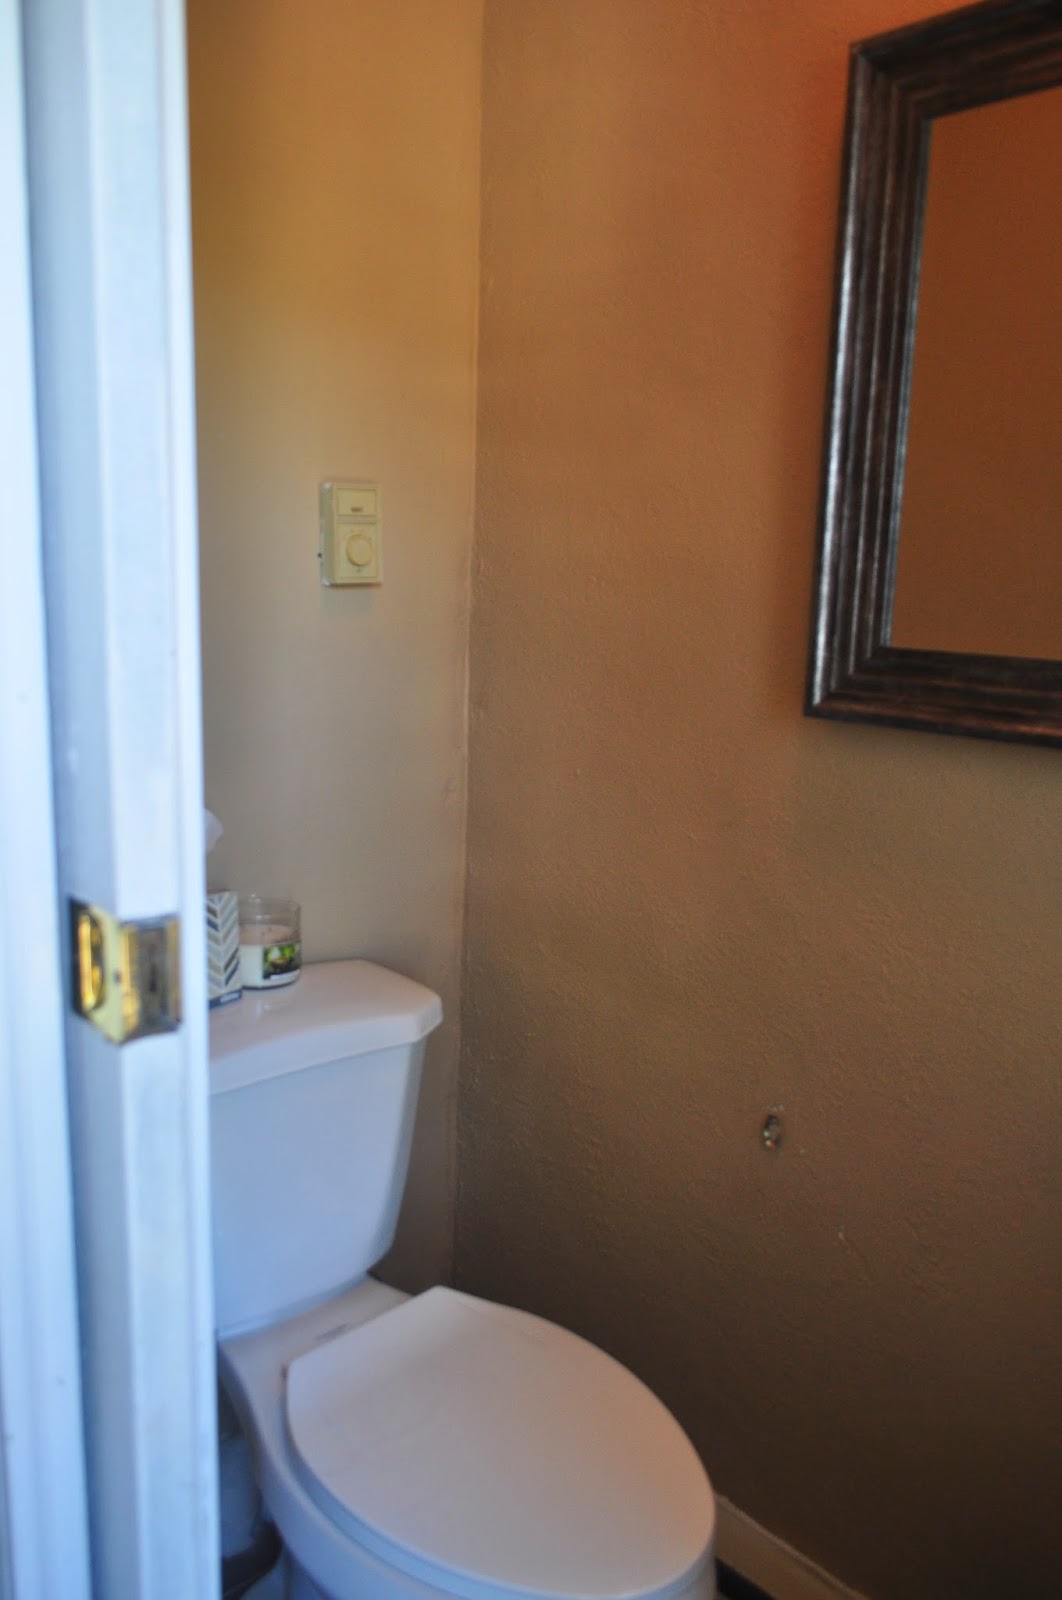
Half Bathroom

- Patch and skim coat walls
- Strip, sand and paint molding
- Paint the vanity
- Fix faucet
- Install shelving above the toilet
- Replace towel holder
- Hang artwork/decor


Living Room

- Hang artwork, pictures behind the couch
- Build remaining radiator cover near Avery's play area
- Build and install built-in's flanking the fireplace
- Repaint the ceiling
- Cover the archways with natural wood detail
- Hang curtains
- Get a larger circular coffee table
- Build long, thin table for behind the couch
- Install crown molding


Dining Room

- Finish painting the wainscoting
- Update the light fixture
- Find and refinish an old sideboard
- Install crown molding
- Hang artwork/decor 
- Hang window curtains


Kitchen

- Paint cabinets
- Paint the walls and trim
- Hang artwork/decor
- Replace backsplash
- Build a radiator cover
- Replace the basement door
- Add window coverings


Stairs to Second Floor / Upstairs Hallway

- Remove carpet 
- Repair, sand, stain and seal stairs
- Strip baseboards
- Paint the walls and baseboards
- Add carpet runner
- Refinish the handrail and affix with new hardware
- Hang artwork/decor
- Remove ceiling fan and patch
- Replace light fixture
- Close the hall closet opening and open/rebuild from the guest bedroom
- Refinish the banister
- Sand down all of the doors and repaint
- Change the office door to open from the other side
- Remove the pocket door to the guest bedroom and replace
- Hang artwork/decor over stairs and in hallway 
- Change hardware on all doors


Master Bedroom

- Strip baseboards and paint
- Patch and paint room 
- Hang curtains
- Build radiator cover
- Find vanity and refinish
- Refinish long dresser
- Maximize space in closet
- Replace the attic door and casing
- New bed frame
- Rug 
- Hang pictures and artwork
- Refinish Ikea dresser

Avery's Bedroom

- Remove bookcase 
- Add thick wood shelving on that wall
- Add crafts table
- Hang curtains
- Add artwork/decor to walls
- Add some paint color to the walls
- Maximize storage in closet
- Change light fixture
- Get him big boy sheets

Office

- Paint
- Install organization system on back wall for crafts
- Fix closet and maximize storage
- Add window treatments
- Install new light fixture

Guest Room

- Paint
- Move bed frame from Master (get mattress)
- Install new light fixture
- Replace carpet with hardwood floors
- Paint radiator cover
- Hang window coverings
- Hang artwork/decor
- Open up wall closet/close off hallway closet

Backyard

- Install gate
- Build two garden beds
- Remove concrete walkway
- Lay down patio
- French drain in the back


Monday, September 29, 2014

Our Week In Review


a few pictures from this past week including a trip to Ben & Jerry's, visiting daddy at work, our 4th wedding anniversary, Mema and Pop-Pop babysitting for the weekend, sleeping past 6am, Avery going to temple for the first time, staining a dining room table, making a towel rack, mod podging Avery's stool and putting my brother to work sanding a Jenga.


Monday, September 8, 2014

From the Mouth of Babes


Our little comedian in the making continuously has us laughing and while the main purpose is to document our funny conversations and his antics, we also want to share with our friends and family. We will be sure to update periodically. Enjoy!


Sonia: I overcooked the pasta
Avery: Aye, Aye, Aye. No comer (spanish for eat)
Sonia: It's okay Avery. I will cook more. It will be ready in 10 minutes.
Avery: (rolls eyes) No comer

________________________

Mommy, I love you! (with the biggest grin and his cheek to his shoulder) - Avery

________________________

Daddy: Avery, get your lovies so we can go bye bye
Avery: Oh yeah
Daddy: Do you have them?
Avery: Yes (hands are empty)
Daddy: Where are they?
Avery: I don't know (shoulder shrug)

___________________________

Keith: Avery, did you have pizza tonight?
Avery: Yes (with a big lisp)
Keith: How was it?
Avery: Eh (with a shoulder shrug and a head tilt)

___________________________

Mommy: Avery, you drive me crazy
Avert: I know! (with a shoulder shrug and a grin)

Thursday, July 31, 2014

The Evolution of Giant Tumbling Blocks!

So, no surprise here but my sister was so amazing with helping my mom plan and execute my bridal and baby showers over the past few years, that I wanted to return the favor. She decided to go with a bbq/summer picnic theme and the day couldn't have been nicer.  
  

My mother-in-law works for a linen company and her and her employer were extremely generous in allowing us to use these beautiful red and white gingham table cloths that fit right in theme. We incorporated a little DIY and spray painted a variety of glass bottles then filled them with wild flowers. It really helped tie the entire look together.


My father created a horse shoe pit in the backyard since it is a huge pastime in my brother-in-law to be's family. There was also lots of basketball, some fun chalk drawing competitions and a few beer pong games and keg stands at the end of the night.


I wanted my gift to represent the day. Something special. Something that was both practical and fun. It needed to have thought behind it and I felt the need to custom make whatever I decided on. Pinterest was extremely resourceful when it came to selecting the right gift.

I settled on a life size (giant) set of Tumbling Blocks.....

To understand why Tumbling Blocks was the right gift, you need to understand Kelli and Pat. They are fun and outgoing. They work hard and play hard. They are selfless and caring, and we love them both.

We decided to go with the 72 piece (4 foot) version.  Keith began by cutting 8 2x4's into 72 10 1/2 pieces.  I then sanded them down using a 220 grit paper (if you do this, make sure you where a dust mask) to make sure the surface is smooth. Nobody likes splinters and it makes the blocks slide better!


As opposed to the traditional signing board or book, Kelli and Pat's guests signed the blocks with their well wishes.


Happy Engagement and best of luck to the guests of honor!


Thanks to Studio Three Photo for all of the great pictures!

Your own Giant Tumbling Blocks set can be purchased here.